


Why Custom Light Gun Mods Are Worth It: 2026 Guide
Table of Contents
What Custom Light Gun Mods Actually Change
Retro Shooter Light Gun Customization: What Fits and What Changes
How to Improve Light Gun Ergonomics Without Ruining the Grip
Custom Light Gun Shell Installation Guide: Step by Step
Cost, Durability, and When a Mod Beats a Pre-Built Replica
Where the money goes in a mod kit
The cost-to-performance ratio, framed honestly
Long-term durability: what actually fails
Accuracy, Calibration, and Latency: What to Benchmark Before You Commit
The four benchmarks, with a repeatable method
Why latency is the benchmark that matters most
Software calibration: the step hardware mods can't skip
Safety and warranty: the part most guides ignore
Conclusion
Frequently Asked Questions
Last Updated: September 25, 2026
What Custom Light Gun Mods Actually Change
Custom light gun mods are physical and electronic upgrades that change how a light gun feels, looks, and responds during play, without replacing the core hardware inside. At Tcarterdesigns, we build these kits for Retro Shooter hardware, and the honest answer to why custom light gun mods are worth it comes down to one thing: the stock shell is a compromise.
Tactile feedback: a firmer trigger break and a cleaner reset, so rapid fire doesn't feel mushy
Ergonomics: grip angle, palm swell, and weight distribution tuned to your hand
Aesthetics: a shell that reads as a pulse rifle or shotgun instead of a generic pistol
Key Takeaway The shell is not cosmetic. It is the interface. Change the grip and trigger and you change how accurately you play, not just how the gun looks on a shelf.
Retro Shooter Light Gun Customization: What Fits and What Changes
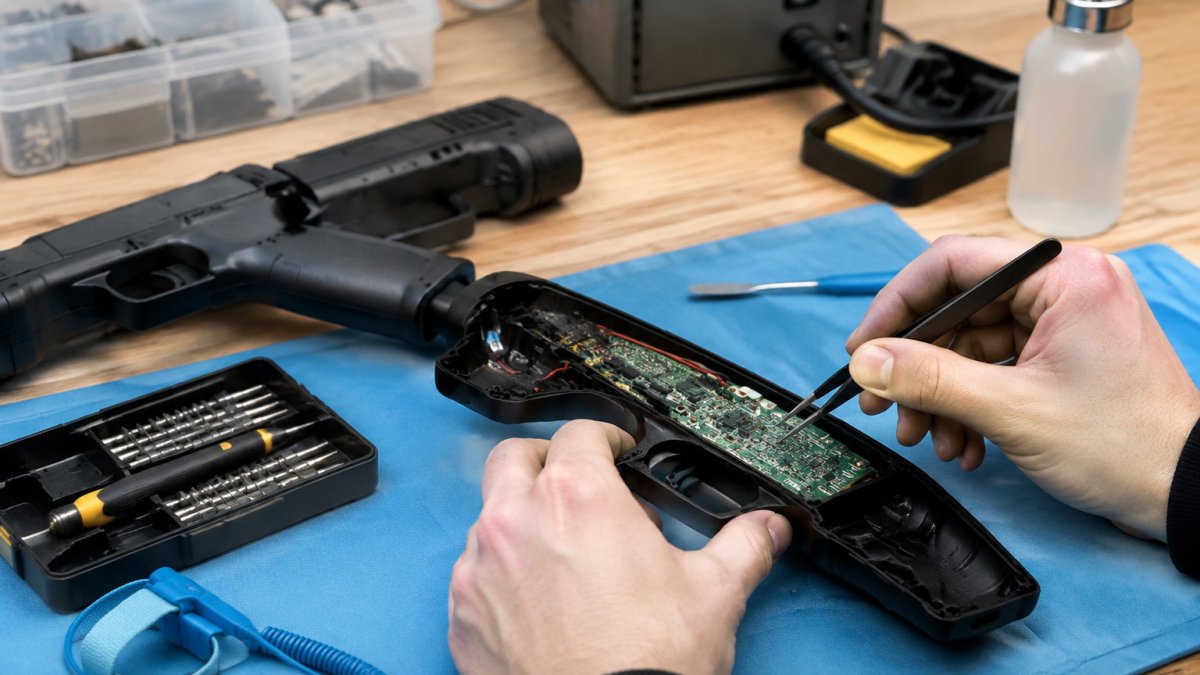
Retro Shooter light gun customization replaces the outer shell and grip assembly while leaving the sensor board, cabling, and button contacts in place. That constraint makes it safe: no soldering, so you cannot damage the tracking hardware.
What actually changes when you swap a shell:
What You Change | What It Affects | What Stays Untouched |
Outer shell | Aesthetics, weight, balance | Infrared sensor board |
Grip profile | Hand fatigue, aim stability | Internal wiring |
Trigger shoe | Tactile feel, reset speed | Button contacts |
Recoil housing | Immersion, weight | Calibration data |
How to Improve Light Gun Ergonomics Without Ruining the Grip
Improving light gun ergonomics means adjusting grip angle, palm contact, and trigger reach, not just adding padding. Padding hides a bad grip angle; it doesn't fix it.
Retro Ralph
Start with these adjustments, in order:
Match grip angle to your stance. Hip-fire play wants a steeper angle. Shoulder-aimed play wants it closer to vertical.
Set trigger reach first. If your finger has to stretch, you'll pull shots left or right under rapid fire.
Add palm swell last. Only after angle and reach are right, and only if your hand still feels unsupported.
Test with dry fire. Cycle the trigger a few dozen times before you play. You'll feel binding immediately.
Watch Out Never force a shell over the trigger assembly. If it needs pressure to seat, the trigger shoe is misaligned.
Custom Light Gun Shell Installation Guide: Step by Step
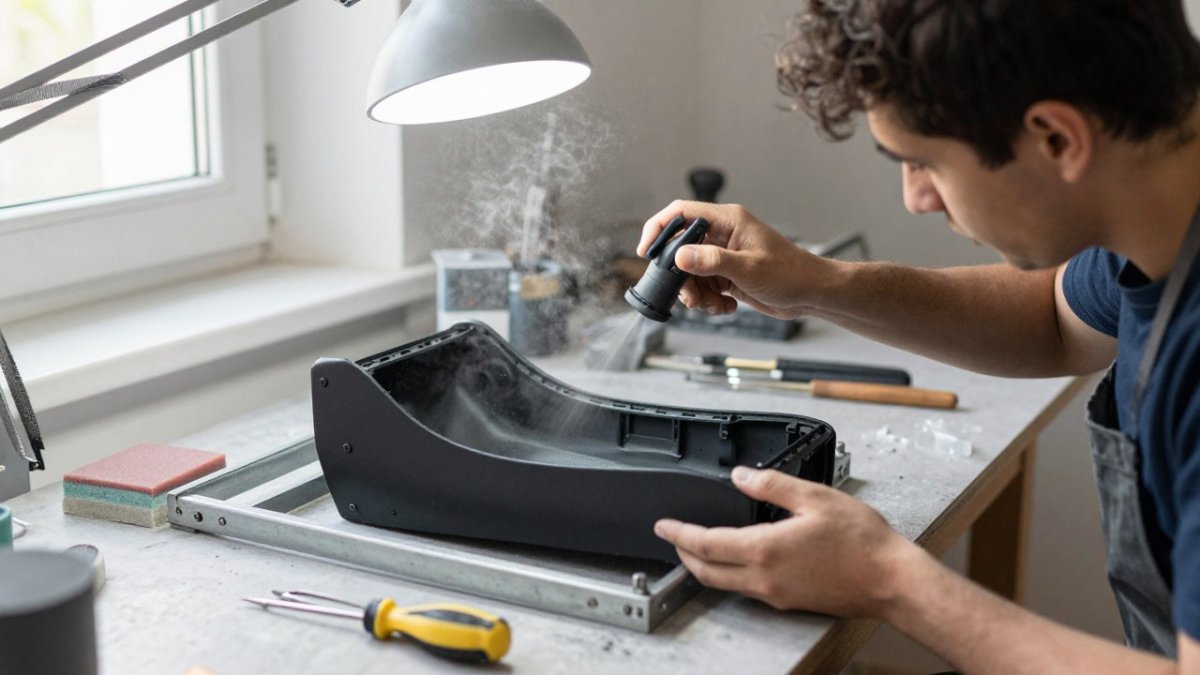
Installing a custom light gun shell takes most people 20 to 40 minutes with basic hand tools, and no soldering. The kit replaces the outer housing only.

Pro Tip If a screw spins without tightening, you've cross-threaded it into the printed boss. Back it out, reseat it by hand for the first two turns, then finish with the driver.
Cost, Durability, and When a Mod Beats a Pre-Built Replica
A mod beats a pre-built replica when you already own a gun you like and want to keep its electronics; a replica makes sense only if you're starting from nothing. The longer answer is where your money goes and what happens to the kit after six months of play, the part most buying guides skip.
Where the money goes in a mod kit
A custom shell kit is not a single 3D print. The price reflects four cost centers that tell you whether a kit is priced fairly:
Design time: someone modeled the shell against a real Retro Shooter revision, not a generic pistol outline. Fitment is the expensive part.
Print quality: layer height, wall thickness, and infill percentage determine whether the shell survives a dropped gun or a hot car.
Test fitting: a kit that has been assembled, dry-fired, and re-seated on an actual unit has already solved the tolerance problems you'd otherwise hit.
Hardware: reinforced screw bosses, metal pivot pins, and proper fasteners cost more than raw filament but are the difference between a playable kit and a display piece.
The cost-to-performance ratio, framed honestly
Compare a mod kit against the two alternatives you actually have:
Option | What you pay for | What you keep | What you risk |
Custom shell mod | Design, print, fitment, hardware | Your existing sensor board, wiring, calibration | Potentially voiding the base unit warranty if you open the housing |
Pre-built replica | A complete second gun | Nothing, it's a separate unit | Duplicate electronics, separate calibration per gun |
Raw STL print | Filament and your time | Your existing electronics | Fitment failures, no support, reprint costs |
Long-term durability: what actually fails
Here's the common pattern over 6-12 months of regular play:
Screw bosses: the first failure point. Printed bosses strip if you overtighten or remove the shell repeatedly.
Trigger pivot: the second failure point. A plastic pivot pin wears oval over time and introduces trigger slop.
Shell body: rarely fails if wall thickness is adequate.
Grip texture: smooths out with hand oils.
Key Takeaway The 'worth it' question isn't about the sticker price. It's about whether the kit's design and hardware survive the first year of play.
Best For Players who already own a Retro Shooter gun and want to keep its tracking hardware while changing how the gun looks and feels in hand, and who plan to play it regularly, not display it.
Accuracy, Calibration, and Latency: What to Benchmark Before You Commit
Benchmark accuracy, latency, and trigger response before and after any mod, because a shell change should never degrade tracking, if it does, the sensor board is seated wrong. This section gives you a repeatable before/after method and the software calibration steps that make a hardware mod pay off.
The four benchmarks, with a repeatable method
Run each test on the same game, display, and distance from the screen, and record results before and after the mod so you're comparing numbers, not impressions.
Accuracy: fire 20 shots at a fixed target point. Count outliers (shots outside the target ring). A shell swap should not increase outliers. If it does, the sensor board may be pinched or seated at an angle.
Latency: use a high-frame-rate camera or a slow-motion phone capture to record the trigger pull and the on-screen hit in the same frame sequence. Count frames between trigger close and hit registration. At 60 fps, each frame is roughly 16.7 ms, so a one-frame difference is about 17 ms. A shell swap should not add frames.
Trigger response: time ten rapid trigger pulls with a metronome or timer app. Listen for a consistent break. A mushy or inconsistent break may mean the trigger shoe is misaligned against the switch.
Calibration drift: calibrate, play 30 minutes, then recalibrate and compare the offset. Drift may indicate the sensor board moved inside the shell.
Why latency is the benchmark that matters most
Input latency is the delay between the trigger closing and the game registering the shot, the number that decides whether a mod feels 'worth it' in fast-reaction games. A shell swap should not change it, since the electronics are untouched. If latency worsens, one of two things may have happened:
The trigger shoe is pre-loading the switch. The shoe sits too close to the switch, so the switch is partially depressed before you pull.
The board is pinched. The new shell is squeezing the sensor board or its ribbon cable, causing intermittent signal.
Software calibration: the step hardware mods can't skip
A hardware mod changes the shell, not how your emulator or game interprets the gun's signal. That mapping lives in software and needs re-tuning after any shell swap, because trigger travel and grip angle have changed.
A common pattern for MAME and similar emulators:
Re-map the trigger input. Open the input configuration and re-bind the trigger button. The new shoe may change the travel distance enough that the old binding feels late.
Re-calibrate the aim point. Run the emulator's light gun calibration routine. Aim at the calibration targets from your normal play distance, not from a foot away.
Set a dead zone if available. Some emulators let you define a dead zone around the center. A slightly larger dead zone compensates for the small aim shift a new grip angle introduces.
Test with a known game. Use a game you know well so you can feel whether the aim is drifting left, right, high, or low. Adjust the calibration offset accordingly.
Save the profile. Most emulators let you save per-game or per-gun profiles. Save it so you don't re-calibrate every session.
Safety and warranty: the part most guides ignore
Opening a gun to swap a shell can void the manufacturer's warranty on the base unit, even though you haven't touched the electronics. Check your terms first.
Watch Out If latency worsens after a shell swap, stop playing and fix it before you log more hours. A pre-loading trigger shoe or a pinched board can get worse with use, not better, and can damage the switch over time.
Pro Tip Record your before/after benchmark numbers in a note on your phone. When you re-calibrate weeks later, you'll know whether a drift is normal wear or a sign the board has shifted.
Conclusion
The real barrier to modding isn't skill, it's confidence that the kit will fit and hold up. Tcarterdesigns builds easy-to-install modification kits for Retro Shooter hardware, with transformative designs including shotgun and pulse rifle styles, so you get professional-grade precision without touching the electronics. Our kits are designed to seat cleanly and survive regular play.
Frequently Asked Questions
Why do light guns only work on CRT TVs, and do mods change that?
Original light guns relied on the CRT's scan timing to detect hits, so they fail on modern flat panels. Mods do not change that; they change the shell, grip, trigger feel, and sometimes the sensor housing. If you want modern-screen play, you need a camera-based or infrared system such as a Sinden or a Retro Shooter setup, then a mod makes that hardware feel like a real arcade gun.
Can custom mods improve the accuracy of my light gun?
Accuracy depends mostly on the sensor and calibration, not the shell. A mod can help by keeping the lens and sensor aligned, adding a stable grip, and reducing flex that shifts the aim. After installation, recalibrate in your emulator and test at several distances. If shots drift, check sensor tracking first, then the fit of the shell.
Are custom light gun shells compatible with Retro Shooter hardware?
Compatibility depends on the specific kit and the exact Retro Shooter model you own. A good kit is designed around the original mounting points, screw positions, and cable routing, so it should fit without cutting or rewiring. Before ordering, confirm your model number, then follow the maker's install notes. If something does not line up, stop and ask rather than forcing it.
How hard is it to install a custom light gun shell, and do I need professional help?
Most kits are plug-and-play for the shell swap: remove a few screws, lift the internals, seat them in the new shell, and refit. You need a small screwdriver and patience, not a workshop. Work on a clean surface, keep screws labelled, and do not pull on wires. If you are unsure, watch the maker's video first; professional installation is rarely required.
Shop
Comments