


Is Building an Arcade Cabinet Worth It?
Last Updated: November 1, 2026
Quick Summary
Building an arcade cabinet is worth it when you want a specific machine no store sells and you value the build itself as much as the finished game room. It is not worth it if you want to be playing this weekend or have nowhere to put a full-sized cabinet.
Build if you enjoy woodworking; buy pre-built if your goal is play, not construction.
A kit gives you pre-cut panels and skips the cutting step, reducing risk.
Plywood is lighter and holds screws better; MDF paints smoother but swells when wet.
A first full-size build typically takes several weekends spread over a month or more.
Get the machine running and stable before modding controls, artwork, or light guns.
Table of Contents
The Verdict: When Building an Arcade Cabinet Pays Off
Building an arcade cabinet is worth it when you want a specific machine that no store sells, and you value the build itself as much as the finished game room.
That is the honest answer, and most guides skip past it.
Below, we break down the real trade-offs, the itemized cost picture, the materials decision, and the mods that make a build feel personal.
Your Situation | Recommendation |
You have a garage or workshop and enjoy woodworking | Build it |
You want a full-size cabinet with a specific game list | Build it |
You live in a small flat with no tools | Buy a pre-built machine |
You want to play within a week | Buy a pre-built machine |
You want a light gun setup you can customize | Build a base cabinet, then mod the guns |
You have never cut a sheet of plywood | Start with a kit |
Who Should Build, and Who Should Buy
Build if you get satisfaction from the process.
Buy if your goal is play, not construction. Pre-built home arcade machines arrive assembled or nearly so, and you trade customization for speed: the game list and look are fixed, and neither is easy to change.
The middle path fits more people than either extreme. A kit gives you the cutting and design work already done, so you assemble rather than fabricate.
DIY Arcade Cabinet vs Pre-Built: The Real Trade-Offs
A DIY arcade cabinet wins on customization and long-run value, while a pre-built machine wins on time, warranty, and certainty. The decision comes down to what you are optimizing for.
Game library: A DIY build with an emulator front end lets you choose your own game list. A pre-built machine ships with the games its maker licensed, and that list is fixed.
Controls: Building means you pick the joystick, the buttons, and the layout. Buying means you accept whatever the manufacturer chose.
Repairs: A DIY cabinet is repairable because you built it and you know how it goes together. A pre-built machine may use proprietary parts that are harder to source.
The light gun question is a good illustration of the difference. If you plan to run light gun games, you need a display and a gun that work together, and you need mounting that keeps the gun aimed properly.
What a Build Actually Costs, Item by Item
A DIY arcade cabinet costs whatever you decide it costs, because the parts list is yours to set. There is no single build price, only a list of components you can scale up or down.
Andy Makes
The most useful test is to compare two numbers: your realistic DIY total and the price of a pre-built machine that would satisfy you. Savings depend on tools already owned, how fancy the controls and artwork get, and how much time you put into the build.
Work through this line by line and you will get a real number for your build.
Component | What Drives the Cost | Where to Save |
Cabinet wood | Sheet count and material grade | Use MDF for painted panels |
Cutting | Whether you cut it or buy a kit | Buy a cut list or kit |
Display | Size, resolution, and input lag | A smaller panel suits most builds |
Computer or board | Emulation power and form factor | A small form-factor PC or a dedicated board |
Controls | Joystick and button quality | Buy decent buttons once |
Wiring | Harness type and connectors | A ready-made harness saves hours |
Artwork | Custom printing versus plain paint | Paint the sides first |
Tools | What you already own | Borrow or hire the rare ones |
Consumables | Screws, glue, t-molding, paint | Buy slightly more than you need |
Two lines surprise first-time builders most: tools and artwork. If you own no power tools, the tool line can rival the wood line. And custom side art, while it makes a cabinet look finished, is one of the easiest costs to defer.
The DIY-versus-buy comparison is where the math gets interesting. A pre-built machine bundles materials, labor, warranty, and a fixed game list into one price.
Pro Tip Price your build in this order: display first (it drives cabinet dimensions), then controls, then computer, then wood. Pricing wood first is the most common way to end up with a cut list that does not fit your chosen screen.
Arcade Cabinet Materials: Plywood vs MDF
Plywood is the better choice for most first builds because it is lighter, holds screws better, and survives being moved.

The differences that matter in practice:
Weight: Plywood is noticeably lighter, which matters every time you move the cabinet.
Screw holding: Plywood takes screws and re-takes them well. MDF strips more easily if you drive a screw twice.
Edges: Plywood edges need t-molding or banding. MDF edges sand smooth and paint cleanly.
A common mistake is buying the cheapest sheet available and discovering it warps. Check that a sheet is flat before you buy it, and store it flat until you cut.
Arcade Cabinet Build Time and Skill: A Realistic Estimate
Skill matters less than patience.
Path | Who It Suits | Tools You Need | Realistic Timeline |
Kit build | First-timers, thin tool collections, small spaces | Screwdriver, drill, clamps | Two to three weekends |
Cut-list build | Confident DIYers with a workshop | Jigsaw or circular saw, drill, sander, clamps, straight edge | Four to six weekends |
From-scratch build | Experienced woodworkers chasing a custom shape | Full shop: table saw, router, jigsaw, sander, clamps | Six weekends or more |
Here is a realistic phase-by-phase picture for a first-time builder working evenings and weekends.
Phase | What It Involves | Typical Pace |
Planning and parts ordering | Choosing a plan, sourcing components | One to two evenings plus delivery time |
Cutting | Breaking down sheets to size | One full day |
Assembly | Building the box, fitting the base | One to two evenings |
Filling and sanding | Prepping for paint | Two evenings with drying gaps |
Painting or finishing | Primer, colour, clear coat | Several days of drying between coats |
Electronics | Wiring controls, mounting the display | One to two evenings |
Testing and troubleshooting | Fixing what does not work first time | One evening, sometimes more |
Watch out: painting is the phase that quietly stretches a build by a week, because every coat needs to dry before the next.
The delays that catch first-time builders most often are not the ones in the table:
Part lead times. Controls, displays, and harnesses often ship separately, and one backordered item can stall assembly for a week.
A bad first cut. A miscut side panel means a trip back to the timber merchant and a re-cut, which is why a cut list or kit pays for itself in risk reduction.
Wiring surprises. A harness that does not match the encoder, or a display that does not accept the board's output, can add an evening of troubleshooting.
The practical takeaway: if you want to be playing within a month, choose a kit and keep the finish simple.
Arcade Cabinet Mods That Make the Build Your Own
Mods are where a plain cabinet becomes yours, and the highest-impact mods are usually the controls and light guns rather than the cabinet shell.
The mods that deliver the most for the least risk:
Button and joystick swaps: The fastest upgrade, and the one you feel immediately.
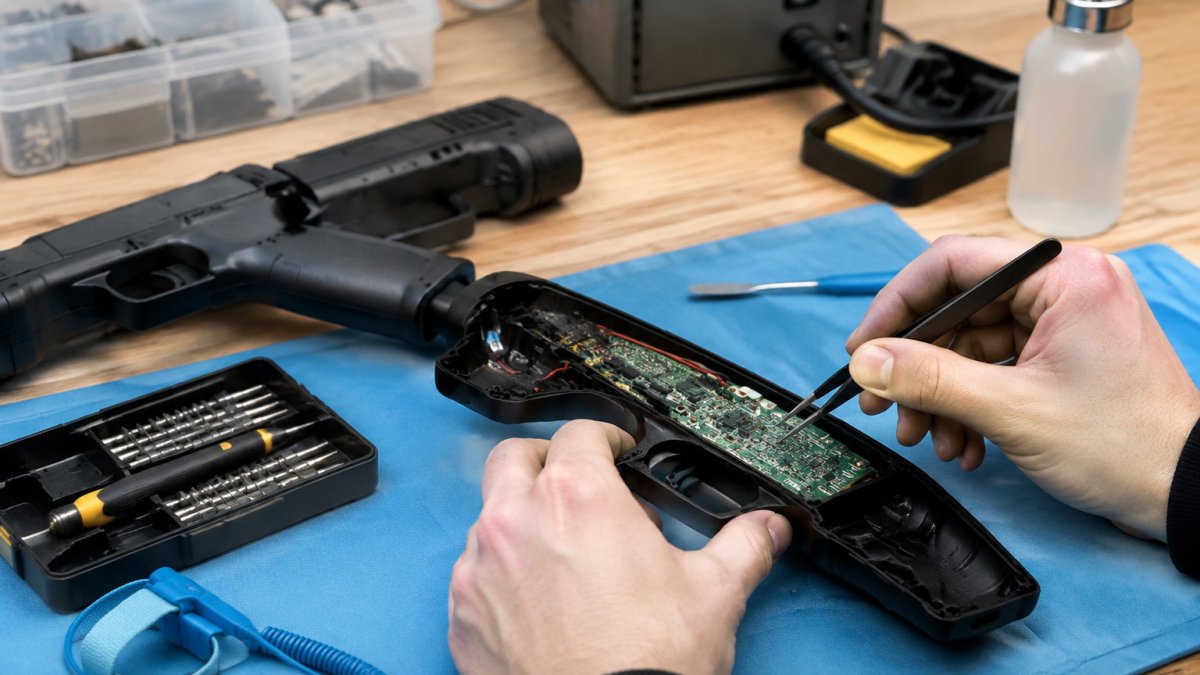
Light gun shells and kits: A standard light gun becomes a replica you actually want on the shelf. Tcarterdesigns builds these for Retro Shooter hardware, with designs including shotgun and pulse rifle styles.
Artwork and marquee: Changes the whole look of the cabinet for a modest outlay.
A common mistake is modding before the cabinet works. Get the machine running and stable first, then customize. For step-by-step help, see Arcade Cabinet Mods: A Beginner's How-To Guide. Otherwise you are troubleshooting two things at once.
Planning Your Build: Start With a Kit or a Cut List
Start with a kit if this is your first build or your tool collection is thin.
A kit gives you pre-cut panels, usually with the joinery done, and you assemble. A cut list gives you dimensions to take to a timber merchant or cut yourself.
Whichever route you take, plan in this order:
Decide the cabinet size and where it will live.
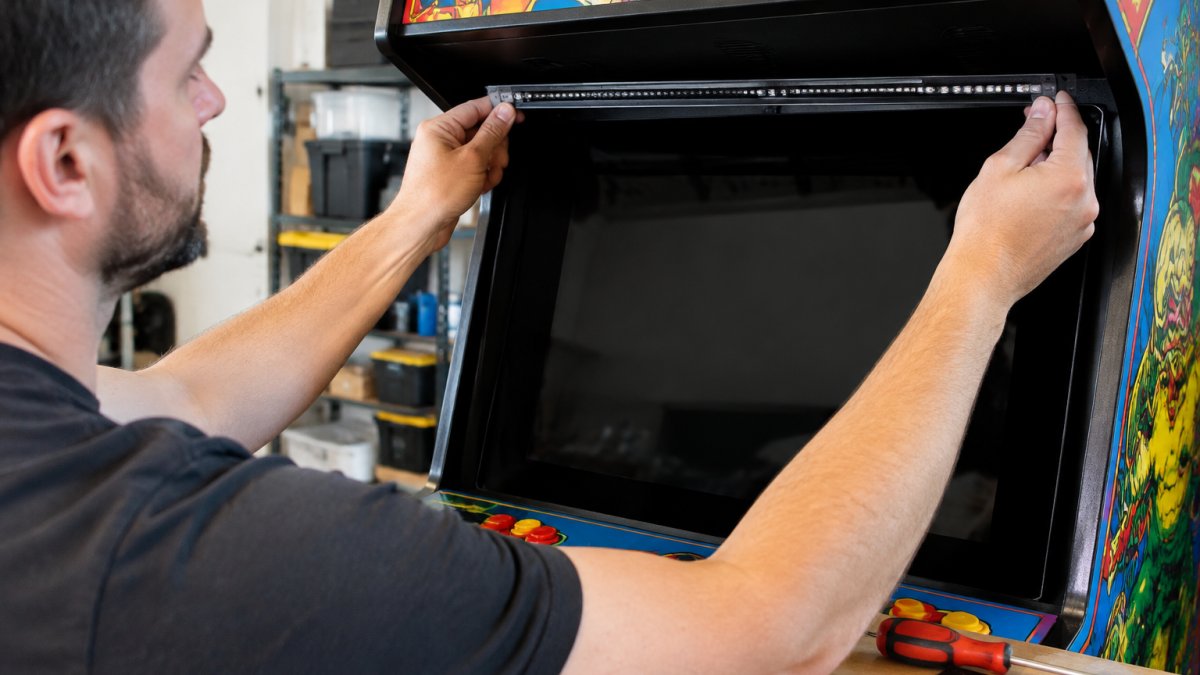
Choose the display, because its size drives the cabinet dimensions.
Choose the controls and the wiring approach.
Choose the computer or board.
Only then order wood.
Getting that order wrong is the most common planning error we see. People buy wood first, then discover their chosen display does not fit the opening they cut.
The Verdict: When Building an Arcade Cabinet Pays Off
Building an arcade cabinet pays off when the machine you want does not exist off the shelf, and when you will play it often enough to justify the space it takes.
Be honest about play frequency. A cabinet that gets switched on twice and then collects dust is an expensive piece of furniture. A cabinet that becomes the centre of game nights is one of the best purchases a retro gaming fan can make.
If you are weighing the payoff,
Frequently Asked Questions
How much would it cost to build an arcade cabinet?
Costs vary widely with the parts you choose. A basic build using a kit or cut list, a modest display, and a simple control set sits at the lower end, while a full-sized cabinet with premium controls and a larger screen climbs higher. The honest approach is to price your own parts list before committing, since the cabinet, controls, display, and computer are the four biggest line items.
Is it cheaper to build an arcade cabinet or buy one?
It depends on what you compare. A basic DIY build can undercut a quality pre-built machine, but once you add premium controls, a larger display, and finishing materials, the gap narrows. Pre-built cabinets also include licensed games and arrive assembled. Building an arcade cabinet is usually cheaper only if you already own the tools and value the customization. If you want a specific game library and zero assembly, buying often wins on total cost.
Is plywood or MDF better for an arcade cabinet?
Plywood is lighter, holds screws better, and resists moisture, which makes it a strong choice for a cabinet you may move. MDF is denser, takes paint and laminate smoothly, and costs less, but it is heavy and swells if it gets wet. For a home arcade that stays in one room, either works. For a cabinet you plan to relocate or put in a garage, plywood is the safer bet. Many builders use plywood for the frame and MDF for panels that need a smooth finish.
How long does it take to build an arcade cabinet?
A kit-based build can come together over a weekend or two, while a from-scratch cabinet with a custom cut list often takes several weekends once you factor in cutting, assembly, wiring, and finishing. First-time builders should add time for mistakes and trips for parts. The build time also depends on how complex your control panel is and whether you paint or laminate the cabinet. Planning the parts list in advance is the single biggest time saver.
How difficult is it to build a MAME arcade cabinet?
The woodworking is the easy part for most people. The wiring and software setup is where builds stall. A JAMMA harness or a pre-wired control kit reduces the electronics work, and a front-end like MAME with a configured emulator saves hours of troubleshooting. If you can follow a wiring diagram and install software, you can build a MAME cabinet. If not, a kit with pre-cut panels and labeled wiring is the lower-risk route.
The difference between a build you love and one you regret usually comes down to the details you choose last: the controls, the finish, and the guns. Tcarterdesigns makes custom light gun mods for Retro Shooter hardware, with transformative designs including shotgun and pulse rifle styles, built as easy-to-install kits so you can customize your setup without risking the electronics. Get started with Tcarterdesigns and turn a standard light gun into the centrepiece of your cabinet.
Comments