


How to Replace Light Gun Buttons and Switches Safely
Last Updated: November 5, 2026
Quick Summary
Replacing light gun buttons and switches safely means matching the old part's footprint, actuation force, travel and terminal style before you buy, then desoldering the old switch and soldering in the new one. Test every joint with a multimeter for continuity before closing the shell, and remap the buttons afterward.
Buy two of every switch you plan to fit so a bent leg does not force a second order.
Microswitches usually sit in the trigger assembly, while tactile switches handle secondary PCB buttons.
Two switches with the same footprint can have different pinouts, so check terminals against the old part.
A sticky button often just needs cleaning and fresh grease rather than a new switch.
Photograph the board before and after the swap to catch a misaligned pin fast.
Table of Contents
Tools and Parts You Need Before You Start
A worn trigger or mushy light gun buttons can make a great light gun feel cheap. Replacing light gun buttons and switches can be one of the most satisfying fixes in this hobby, and it starts with having the right parts on the bench.
Here is what we keep within arm's reach before opening any casing:
A fine-tip soldering iron with a small chisel or conical tip
A desoldering pump and a roll of solder wick
Solder flux and lead-free solder
A digital multimeter for continuity tests (A Guide to Continuity Testing with a Multimeter)
Small Phillips and Torx screwdrivers
Plastic pry tools or a guitar pick
Heat shrink tubing in a few small sizes
One tip from experience: buy two of every switch you plan to fit. They cost very little, and a spare saves a second order when a leg bends or a contact fails.
Opening the Light Gun Casing Without Damage
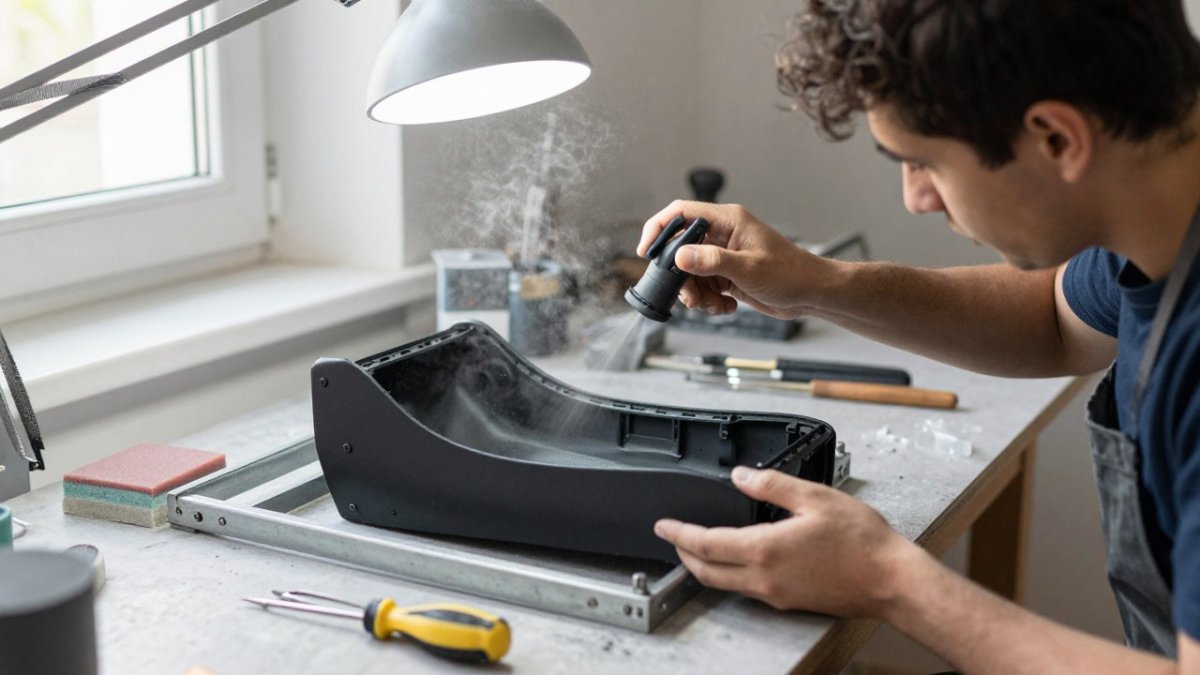
Take your time here, because the casing clips are the fragile part. Most light gun shells use a mix of screws and snap-in tabs, and forcing them is how people crack a corner or snap a clip.
Work in this order:
Remove every visible screw, including any hidden under rubber grips or stickers.
Run a plastic pry tool along the seam and twist gently, never lever hard.
Keep the two halves level as they separate so the wiring harness stays put.
Note where each screw came from. A phone photo takes five seconds and saves confusion later.
Watch out: tugging the shell apart too fast can rip the trigger assembly wiring or pull a terminal off the PCB. If you want extra reassurance before you open anything, our guide on whether light gun mods can damage electronics walks through the risks and how to avoid them.
Identifying Switch Types Before You Buy
The switch inside your gun decides how the trigger and buttons feel, so match the part before you order.
Start by reading the markings on the old part.
Check these details on the old part before you buy:
Footprint: how many pins, and how they are spaced on the PCB. Measure pin-to-pin spacing with calipers rather than eyeballing it.
Actuation force: a light click versus a firmer press. If you have a small kitchen scale, you can press the plunger until it clicks and note the rough force in grams.
Travel: how far the plunger moves before it clicks. A ruler against the plunger gives you a usable number.
Mounting: snap-in, screw-in, or surface-mounted to the board.
Terminal style: solder lugs, PCB pins, or spade connectors. A switch with the right body but the wrong terminals will not fit.
A common mistake is buying on size alone. Two switches can look identical and still feel completely different in the hand, because actuation force and travel are not visible from the outside.
Tactile Switch vs. Microswitch: Which One Is Inside Your Gun?
A microswitch is a mechanical switch with a lever or plunger that clicks at a set point, and it is the usual choice for triggers because it gives crisp tactile feedback. A tactile switch is a smaller push button mounted directly on the circuit board, common for secondary buttons like reload or start.
Which one is inside your gun? Open the casing and look at how the part is mounted:
Feature | Microswitch | Tactile Switch |
Typical location | Trigger assembly | Secondary buttons on the PCB |
Mounting | Screw-in or snap-in bracket | Soldered to the board |
Feel | Firm click, longer travel | Short, light click |
Best for | Triggers and main fire buttons | Menu, reload and start buttons |
Neither is better in every case. Match the type to the job, and your gun will feel right.
Reading the Old Part: A Quick Cross-Reference Method
Most guides are written for one gun model, which is why so many people get stuck when their gun is not the one in the video.
A few patterns show up again and again across legacy light guns. Trigger switches tend to be larger microswitches with lever arms, because the trigger mechanism needs a long throw and a firm click.
Watch out: two switches with the same footprint can have different pinouts, so a replacement that fits the holes may still be wired backwards. Always check the common, normally-open, and normally-closed terminals against the old part before soldering.
Light Gun Trigger Switch Replacement Step by Step
Replacing the trigger switch is a straight swap once the casing is open: desolder the old part, fit the new one, and check the connection before you close up.

Free the trigger assembly. Remove the bracket or retaining screw so the switch is accessible.
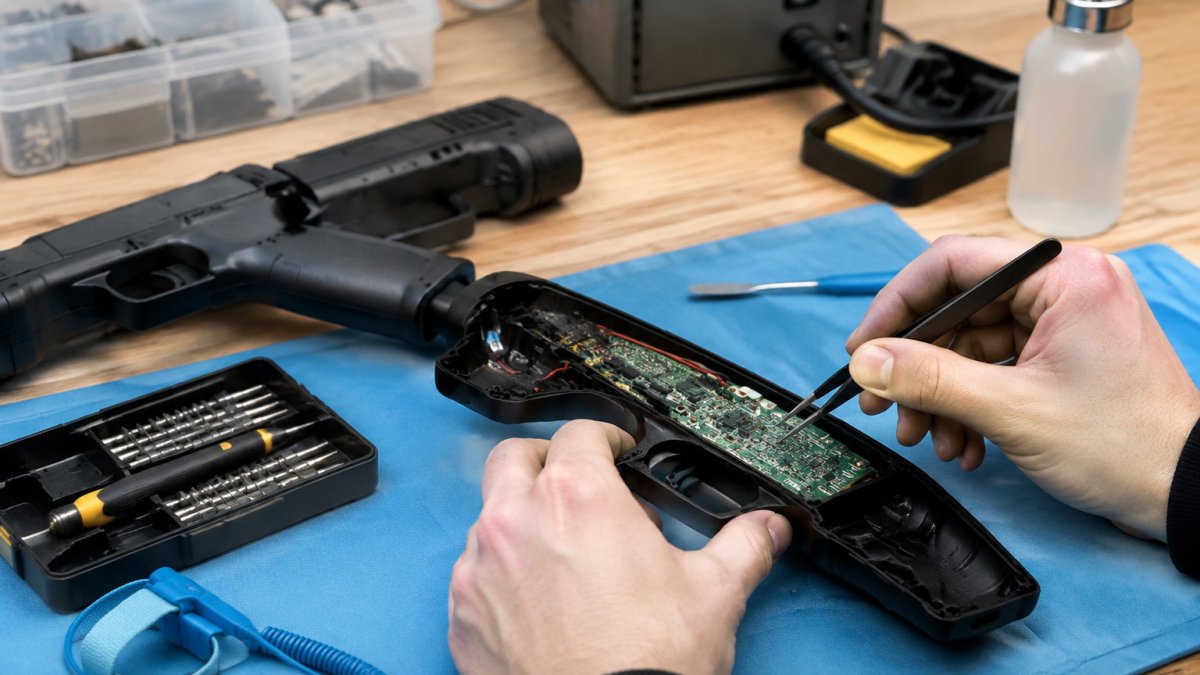
Desolder the old switch. Heat each joint and use the pump to lift the solder. Add a little flux if a joint resists.
Clean the pads. Wick away leftover solder so the new legs sit flat.
Fit the replacement. Check the pinout and orientation against the old part before soldering.
Solder each leg. Heat the pad and leg together, then feed solder in. A shiny cone is what you want.
Trim and insulate. Snip excess leg length and slide heat shrink over any exposed joints.
If you are also planning recoil or shell work, our full Sinden light gun modding guide covers triggers, recoil and shells together so you can plan the whole build in one session.
Light Gun Button Repair for Sticky or Dead Buttons
Not every bad button needs a new switch. A sticky or dead button often has a simpler cause, and light gun button repair usually starts with a clean and a continuity test.
Work through these checks:
Sticky feel: grit or worn grease inside the housing. Clean the contact points and the button stem.
Dead press: a broken solder joint or a worn switch. Test with a multimeter set to continuity.
Intermittent press: a loose terminal or a cracked wire in the wiring harness.
Mushy click: a tired spring inside the switch. Replacement is the fix.
If the switch itself is fine, a clean and a fresh dab of suitable grease often restores the feel. If continuity fails when you press, swap the switch.
Testing and Troubleshooting After the Swap
Test before you close the shell, every time. It is far easier to fix a bad joint with the board in view than after the casing is back together. This is also the part most guides rush, which is why so many repaired guns come back with the same fault a week later.
Run this quick sequence:
Set your multimeter to continuity and check each new joint. A good joint beeps cleanly and steadily; a cold joint beeps intermittently or not at all.
Reconnect the wiring harness and power the gun on.
Press every button and watch for a clean, single response.
Check for input lag or double presses in a game menu.
Look for a short between adjacent pins if a button misbehaves. With the gun off, continuity between neighboring pins that should not be connected is a short.
A Systematic Diagnostic Path for Common Failures
When a button does not work after a swap, the cause is almost always one of four things, and you can rule them out in order. This is the part most text guides skip, and it is where a clear photo of the suspect joint saves the most time.
No response at all. Check continuity across the switch terminals while pressing. If the switch itself is open, the part is faulty or the wrong type. If the switch is fine, check the solder joints at the board and the harness connector.
Response only when pressed hard. This usually means a cold solder joint or a switch with too high an actuation force for the button mechanism. Reflow the joints first, then reconsider the switch.
Double or phantom presses. Look for a short between adjacent pins, a stray solder bridge, or a wire pinched against the shell during reassembly.
Works, then stops after a few minutes. A thermal fault in a cold joint is the usual suspect. Reflow the joints with fresh flux and retest after the gun has warmed up.
A useful habit is to photograph the board before and after the swap, with the new joints in focus.
Watch out: testing with the shell open means the board is exposed, so keep the gun on a clean, non-conductive surface and avoid touching the board while it is powered.
Still stuck? A step-by-step Retro Shooter mod install guide is a handy reference for verifying wiring order and connections after a repair.
Sinden Light Gun Button Mapping After a Repair
A new switch can change how a button registers, so remap after any repair. Sinden light gun button mapping is handled in the software, and it takes a couple of minutes.
Open the configuration tool and go to the button mapping screen.
Press each button when prompted so the software learns the new input.
Confirm the trigger maps to fire and the side buttons match your layout.
Save the profile and test it in a game before moving on.
What most guides miss is that a remap also catches a switch fitted in the wrong orientation. Sinden owners can browse Sinden-specific parts and products if a replacement is needed.
Sinden Light Gun Calibration and Final Checks
Finish with a calibration pass, because a repaired gun still needs to point true. Sinden light gun calibration only takes a few minutes and confirms the sensor and buttons all work together.
Point the gun at each corner of the screen when prompted, then test in a game.
Once everything checks out, a few arcade light gun accessories can tighten up the feel and finish of the build. That is the fun part.
Frequently Asked Questions
How do you replace a button in a light gun?
Open the casing, note the wiring, and desolder the old switch from the PCB. Solder in a matching replacement, then reassemble and test. Take a photo before removing anything so you can match the pinout.
How can you tell if a light gun trigger switch has failed?
Set a multimeter to continuity mode and probe the switch terminals while pressing the trigger. A working switch beeps or shows near-zero resistance when closed. No change means the contact points are worn or dirty. Other signs include a trigger that only fires on a hard pull, double-fires, or stops responding mid-game. Swap the switch if continuity is inconsistent across several presses.
What tools do you need to replace a light gun button or switch?
You need a soldering iron, solder, a desoldering pump or wick, solder flux, a multimeter, small screwdrivers, and heat shrink tubing for the wiring harness. A plastic pry tool helps open the housing without cracking the shell. Keep a container for screws and take photos as you go. A continuity test with the multimeter confirms the new switch works before you close the casing.
How do you map buttons on a Sinden light gun after a repair?
Open the Sinden software, go to the button mapping screen, and press each button when prompted. The software records the input and assigns it to the matching action. If a button does not register, recheck the solder joints and the wiring harness terminal before remapping. After mapping, run a calibration pass so the aim and trigger response line up with your screen.
A smooth trigger and a crisp button change how a light gun feels in the hand, and a careful swap gets you there without risking the electronics. At Tcarterdesigns, we build easy-to-install custom mods for Retro Shooter hardware, including shotgun and pulse rifle style shells that turn a standard gun into a display piece you can still play with. Browse the range and give your arcade setup the look and feel it deserves. Get started with Tcarterdesigns and upgrade your light gun today.
Comments