


How to Mod Sinden Light Gun: Recoil, Triggers & Shells
Table of Contents
What You'll Need Before You Start
Sinden Light Gun Recoil Kit Installation
Wiring the Recoil Solenoid and Power Source
Skill Level and Reversibility
Sinden Light Gun Trigger Sensitivity Fix
Adjusting the Trigger Spring and Contact Points
Comparative Mod Performance: What Actually Improves Response Time?
Skill Level and Reversibility
3D Printed Sinden Light Gun Shells
Snap-Fit vs. Screw-Together Housing Options
How to Mod Sinden Light Gun Without Breaking It: Reversibility and Durability
Troubleshooting Common Mod Issues
Frequently Asked Questions
Last Updated: September 27, 2026
What You'll Need Before You Start
A mod Sinden light gun project is a straightforward DIY job, but the work goes smoother when you have the right tools laid out before you open the shell.
Here's what to gather:
A precision screwdriver set (Phillips #00 and #0, plus a small flathead for prying)
Plastic spudger or guitar pick for separating snap-fit seams
Soldering iron with fine tip and rosin-core solder, if your kit needs wired connections
Heat-shrink tubing and a lighter or heat gun
Multimeter for checking continuity before you power anything on
Small parts tray, because trigger springs disappear into carpet forever
Your mod kit, whether that's a 3D printed shell or upgraded trigger components
Pro Tip Photograph every stage of disassembly with your phone before you remove a single screw. When you reassemble, you'll have a visual reference for wire routing and screw placement that no manual can match.
The Sinden's internal layout is tight but forgiving. Most mods are plug-and-play or light-soldering jobs, not full rebuilds. If you're unsure whether a kit fits your specific revision, check the product listing before ordering; shell geometry has changed slightly across production runs.
Sinden Light Gun Recoil Kit Installation

The process breaks down like this:
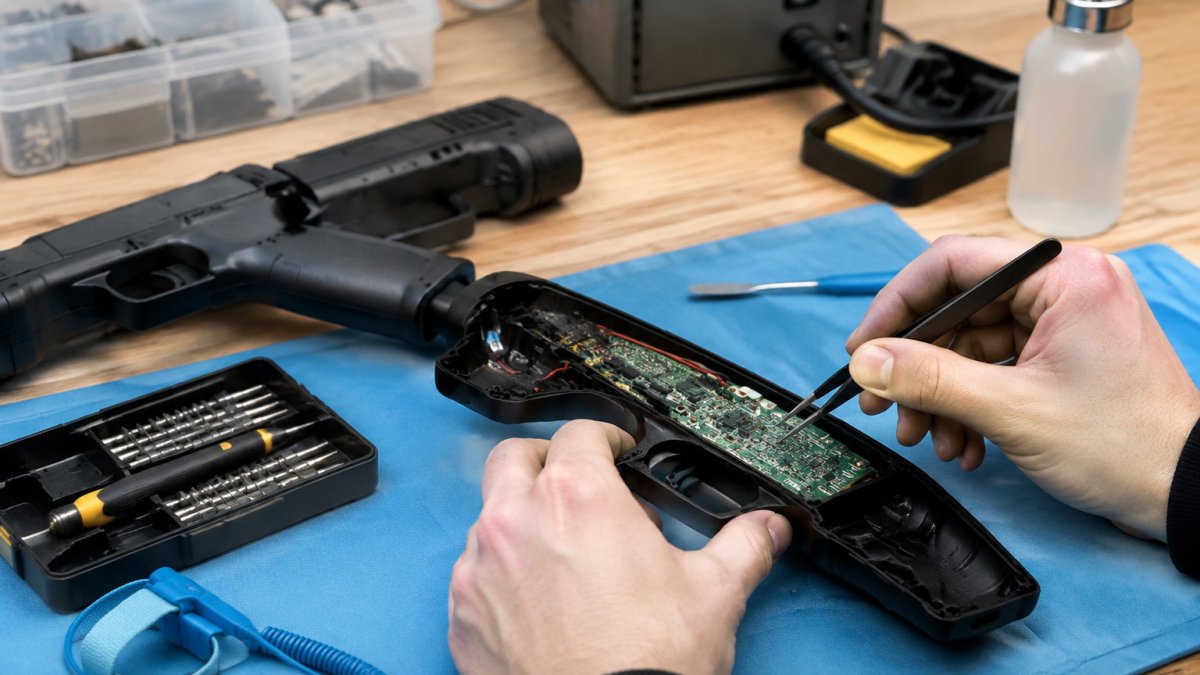
Remove the shell screws - There are typically six Phillips #00 screws: two under the muzzle, two in the grip, and two near the trigger guard. Keep the trigger assembly intact; do not pull the trigger while the shell is open.
Identify the mounting point - Most kits include a bracket or snap-fit cradle that replaces the stock weight or sits above the trigger mechanism. Test-fit the solenoid before securing it; the wires should exit toward the rear of the gun.
Route the wiring harness - Use the existing cable channel along the inside of the shell. Avoid crossing over the optical sensor lens or the trigger contact pads. A small piece of electrical tape can hold wires in place during reassembly.
Connect the solenoid - If your kit is plug-and-play, the harness terminates in a connector that matches the gun's board. If it's a soldering job, tin both the wire and pad first, then make the joint quickly (2-3 seconds) to avoid melting nearby plastic. Use heat-shrink tubing on every exposed joint.
Test fit and power on - Before closing the shell, connect the power source and pull the trigger. You should hear a sharp 'thunk' and feel the solenoid kick. If nothing happens, check continuity with a multimeter before assuming the solenoid is dead.
Wiring the Recoil Solenoid and Power Source
Power is where most first-timers get stuck. Recoil solenoids draw a short, sharp current spike, often 1-2 amps at 5V or 12V depending on the kit, so a weak supply produces a limp kick or intermittent firing. Check your kit's voltage and current requirements before wiring anything. A common mistake is using a USB port that cannot deliver enough current; use a dedicated power adapter or a powered USB hub.
Watch Out Never test a soldered joint by powering the gun on with the shell open and the board exposed. A short can kill the optical sensor board, which is the most expensive part to replace. Always use a multimeter to check for shorts between power and ground before connecting the battery.
Skill Level and Reversibility
Recoil kit installations range from beginner-friendly to expert-level. Plug-and-play kits with pre-crimped connectors are suitable for beginners and can be installed in under 30 minutes. Kits requiring soldering or custom mounting brackets are better suited for intermediate modders. Before you start, decide if you want to keep the mod reversible: use connectors instead of soldering directly to the board, and keep the original shell and screws in a labeled bag.
Sinden Light Gun Trigger Sensitivity Fix
A Sinden light gun trigger sensitivity fix usually means adjusting the spring tension or cleaning the contact points, not replacing the trigger. If your shots register late, double-fire, or miss entirely, the trigger assembly is the first place to look. But not all trigger mods are equal, some improve response time, while others simply change the feel. This section covers the mechanical fixes and gives you a realistic picture of what each mod can achieve.
Widge
Adjusting the Trigger Spring and Contact Points
Start by opening the shell and inspecting the spring. If it's stretched or compressed, the trigger pull changes and the contact timing shifts. Common fixes:
Reseat the spring so it sits square in its channel. A tilted spring causes uneven pressure and inconsistent contact.
Clean the contact points with isopropyl alcohol and a lint-free swab. Oxidation and dust are common culprits for double-firing.
Gently bend the contact arm back to its original angle if it's flattened. Use needle-nose pliers and apply minimal force.
Replace worn tactile switches if the click feels mushy. A new switch costs a few dollars and restores crisp actuation.
Comparative Mod Performance: What Actually Improves Response Time?
Most guides tell you to mod the trigger but never quantify the results. Here's what you can realistically expect:
Spring replacement (lighter spring): Reduces trigger pull weight by roughly 30-50%, but does not measurably change response time. It improves comfort and reduces fatigue during long sessions.
Contact cleaning: Restores stock response time if oxidation was causing delays. No performance gain beyond baseline.
Tactile switch replacement (e.g., Omron or Alps): Can reduce actuation travel by 0.5-1mm and shave 2-5ms off response time. This is the only mod that consistently improves latency.
Soldered direct wire to trigger contact: Eliminates switch debounce and can reduce latency by up to 10ms, but requires expert soldering skills and is not reversible without desoldering.
Key Takeaway If your goal is faster response, focus on the switch and wiring, not the spring. If your goal is comfort, a lighter spring is the easiest win. Always fix mechanical issues before recalibrating in software.
Skill Level and Reversibility
Trigger mods range from beginner to expert. Cleaning and spring adjustment are beginner-friendly and fully reversible. Switch replacement requires basic soldering (intermediate) and is reversible if you use a socket or connector. Direct wiring is expert-level and should only be attempted if you are comfortable desoldering and have a temperature-controlled iron. Before any mod, photograph the trigger assembly and keep original parts in a labeled bag.
3D Printed Sinden Light Gun Shells
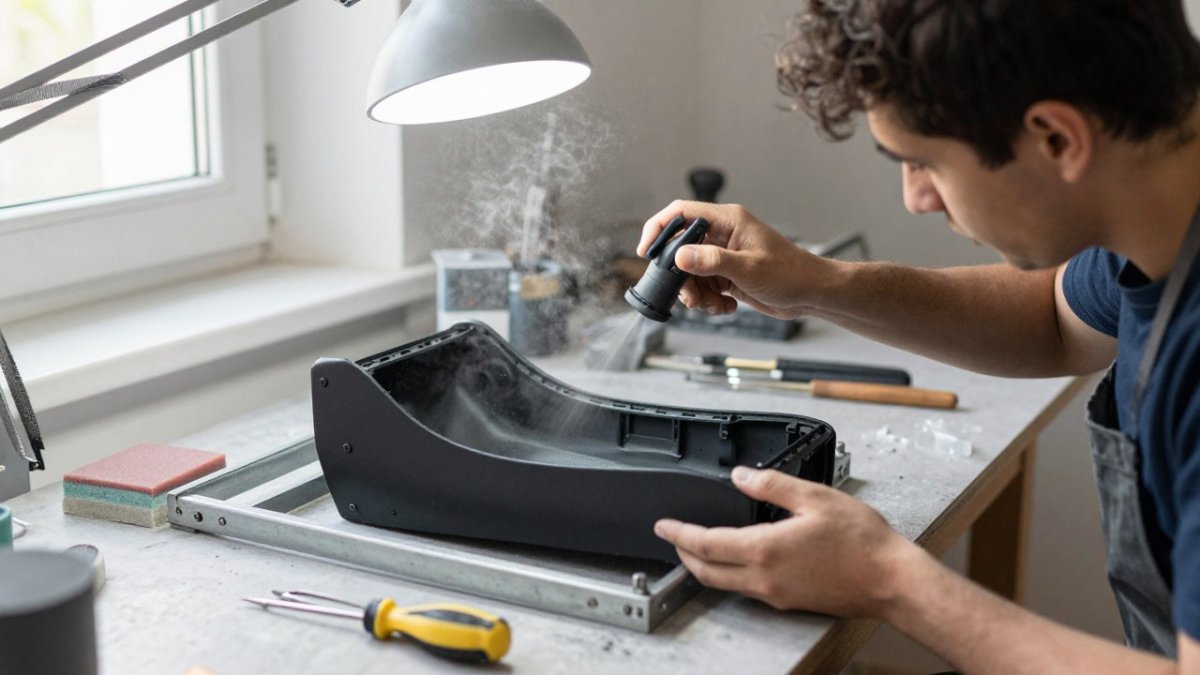
3D printed Sinden light gun shells let you turn a standard controller into an iconic replica, from a pulse rifle to a custom shotgun, without buying a whole new gun. Tcarterdesigns specializes in high-quality, custom light gun mods designed to elevate your gaming experience, transforming standard hardware into iconic replicas like the Aliens Pulse Rifle or custom shotguns.
The two main construction styles behave very differently.
Snap-Fit vs. Screw-Together Housing Options
Snap-fit shells assemble without fasteners, relying on printed tabs and tolerances to hold together. They're fast to install and easy to reverse, but repeated opening can wear the tabs. Screw-together shells use brass inserts or self-tapping screws for a more rigid, serviceable build.
Feature | Snap-Fit Shell | Screw-Together Shell |
Assembly time | 5-10 minutes | 15-25 minutes |
Reversibility | High, tabs may wear | High, hardware reusable |
Rigidity | Moderate | High |
Best for | Quick swaps, display | Regular play, heavy use |
Tooling needed | None | Screwdriver, inserts |
Best For Gamers who want to swap between replica styles without committing to one permanent build.
How to Mod Sinden Light Gun Without Breaking It: Reversibility and Durability
The best mod is one you can undo. Reversibility matters because light gun hardware revisions change, and a mod that seemed perfect can become a problem when you upgrade your setup or sell the gun.
Troubleshooting Common Mod Issues
Most mod problems trace back to four causes: loose wiring, poor contact, software misconfiguration, or a cracked mount. Work through them in order.
Symptom | Likely Cause | Fix |
|
| Check harness and supply |
|
| Verify power source rating |
Trigger double-fires | Worn contact or spring | Clean or replace switch |
Shots miss | Calibration or input mapping | Recalibrate in software |
Shell cracks | Over-tightened screws | Back off, add inserts |
Frequently Asked Questions
Can you add recoil to a standard Sinden light gun?
Yes, you can add modifications to a standard Sinden light gun. Installation involves opening the chassis and routing any necessary wiring. It is a reversible mod if you keep the original parts.
How hard is it to install a Sinden light gun recoil kit?
Installing a Sinden light gun recoil kit is a moderate DIY project. You need basic tools like a screwdriver and possibly a soldering iron for some kits. Most plug-and-play versions take 30 to 60 minutes. The trickiest part is routing the USB cable and recoil wiring without pinching anything when you close the shell. If you are not handy with tools, look for kits that use snap-fit components instead of solder joints.
Will modding my Sinden light gun void the warranty or break the electronics?
Opening your Sinden light gun may void the manufacturer's warranty, so check the terms first. The electronics themselves are fairly resilient if you avoid static discharge and do not force connectors. Use a plastic spudger to open the shell, keep screws organised, and take photos before disassembly. Most mods are reversible: you can put the original shell and trigger back if something does not work. Always test the gun before fully reassembling.
What are the most popular cosmetic mods for Sinden light guns?
The most popular cosmetic mods are 3D printed Sinden light gun shells that turn the standard pistol into replicas like an Aliens Pulse Rifle or a custom shotgun. Many enthusiasts also add pump grips, custom holsters, and painted finishes. These shells often include improved ergonomic adjustment and tactile feedback. Tcarterdesigns specialises in these kinds of aesthetic upgrades, with kits that fit Retro Shooter hardware and keep the original electronics intact.
Modding a light gun rewards patience more than skill. The wiring, the trigger tuning, and the shell fit all come down to doing each step carefully and testing before you close things up. If you'd rather skip the trial and error, Tcarterdesigns offers easy-to-install modification kits with custom shells, including shotgun and pulse rifle styles, built for Retro Shooter hardware. Get started with Tcarterdesigns and turn your standard light gun into a replica worth showing off.
Shop
Comments