


How to Install Retro Shooter Mods: Step-by-Step
Table of Contents
What You'll Need Before Installing Retro Shooter Mods
Essential Tools and Hardware
Checking Compatibility with Your Light Gun
Preparing Your Retro Shooter Light Gun Setup
Electrical and Mechanical Safety Precautions
Workspace Setup and Tool Preparation
Compatibility Verification Checklist
Protecting Your Original Hardware
Step-by-Step Retro Shooter Mod Kit Installation
Fitting the Mod Housing
Securing Internal Components
Verifying Connections and Alignment
RS3 Reaper Slide Swap: Installation Process
Removing the Stock Slide
Installing the Reaper Slide
Calibration and Testing After Installation
Running Calibration Software
Testing Input Mapping and Screen Alignment
Common Mistakes to Avoid When Installing Mods
Troubleshooting After Installation
Diagnostic Decision Tree: Device Not Recognized
Calibration Drift, Inaccuracy, or Unstable Aiming
Physical Fit Issues, Loose Components, or Rattling
Input Lag, Delayed Response, or Trigger Not Registering
Frequently Asked Questions
Last Updated: October 11, 2026
What You'll Need Before Installing Retro Shooter Mods
To install retro shooter mods, you need the right tools, compatible hardware, and understanding your light gun's capabilities.
Essential Tools and Hardware
Screwdriver set (Phillips and flathead)
Small hex key set for internal components
USB hub with power supply (for device recognition)
Checking Compatibility with Your Light Gun
Verify compatibility before opening your mod housing: check light gun model, USB connection type, firmware version, and physical dimensions.
Preparing Your Retro Shooter Light Gun Setup
Proper preparation prevents damage and ensures correct installation. A systematic checklist covers electrical safety, mechanical inspection, workspace setup, and compatibility verification.
Electrical and Mechanical Safety Precautions
Power-down sequence (critical order):
Power off your PC or arcade cabinet completely
Unplug the light gun from the USB hub
Disconnect the USB hub from the power outlet
Wait 60 seconds for residual charge to dissipate from the control board and sensor circuits
Remove any batteries if your light gun uses them (some models include backup power)
Ground yourself by touching a metal part of your work surface or wearing an anti-static wrist strap
This sequence prevents electrical damage to the control board and sensor array.
Mechanical inspection before disassembly:
Inspect the housing for cracks, verify the USB connector is secure, test the trigger and slide for smooth movement, and check fasteners for corrosion.
Workspace Setup and Tool Preparation
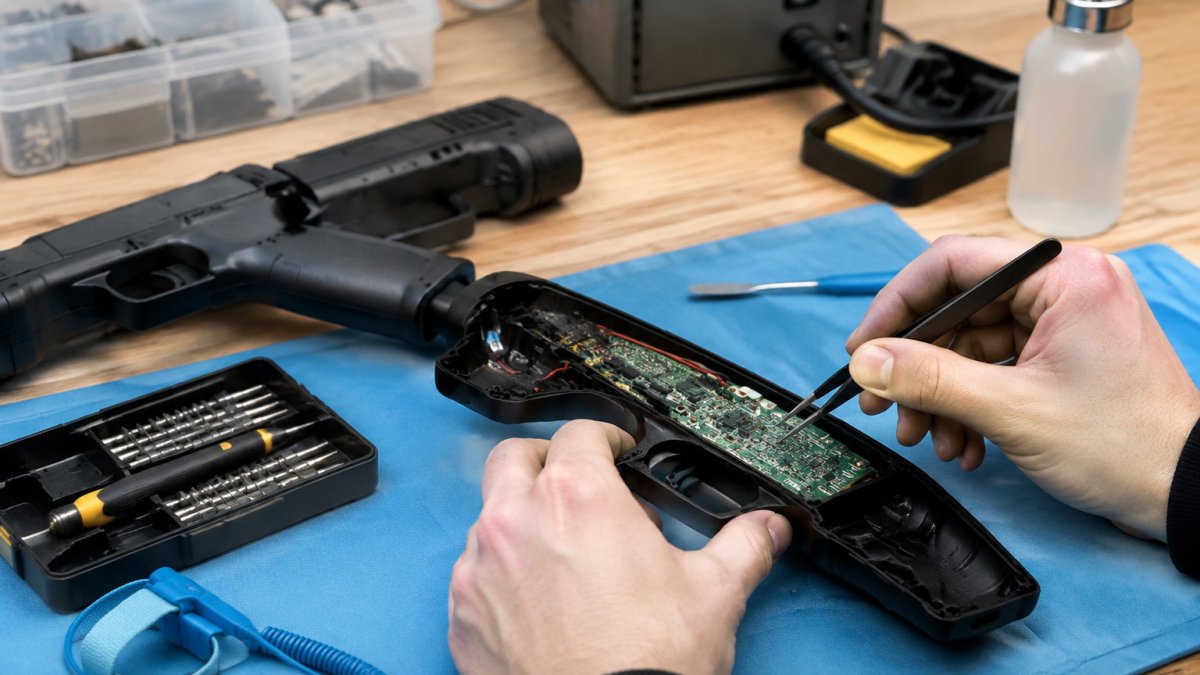
Use a clean, flat work surface with 2+ feet of clear space under a desk lamp. Line the surface with a non-conductive mat, keep a labeled bag for fasteners, and maintain room temperature between 60-75°F. Gather: screwdriver set (Phillips and flathead), hex key set, tweezers, soft brush or compressed air, anti-static wrist strap, and flashlight.
Compatibility Verification Checklist
Check these compatibility factors against your specific setup:
Factor | What to Verify | Why It Matters |
Light gun model | Sinden, Retro Shooter, arcade cabinet original, or other | Mod housings are designed for specific base units; wrong model = no fit |
USB connection type | Standard USB-A, USB-C, proprietary connector, or wireless | Mod kits include specific cables; mismatched connectors won't seat |
Firmware version | Current version on your device (check manufacturer's website) | Some mods require firmware updates before installation; outdated firmware causes driver conflicts |
Operating system | Windows 10/11, Linux, macOS, or FPGA system (Mister, Analogue) | Driver support varies by platform; verify your OS is supported before installing |
Display type | CRT, LCD, LED, or arcade cabinet monitor | Calibration software differs by display type; wrong calibration causes aiming drift |
Physical dimensions | Original housing length, width, height (check product specs) | 3D-printed mod housings have tight tolerances; oversized base units won't fit |
Existing modifications | Any prior mods, custom firmware, or hardware changes | Stacking mods can cause conflicts; verify the mod is compatible with your current setup |
Contact the mod manufacturer if you're unsure about any compatibility factor.
Protecting Your Original Hardware
Photograph the original assembly before disassembly and store the original housing and fasteners in labeled bags.
Step-by-Step Retro Shooter Mod Kit Installation
This is where your preparation to install retro shooter mods pays off. Follow each step carefully and don't skip ahead.
Fitting the Mod Housing
The mod housing is the visible shell that transforms your light gun.

Align the USB connector port first. Slide the housing down slowly, checking that internal components clear the edges. Secure with provided fasteners in a cross pattern, hand-tight only.
Securing Internal Components
Verify the USB ribbon cable is firmly seated, power leads routed away from moving parts, and the slide mechanism moves freely.
Verifying Connections and Alignment
Inspect all connections inside the housing, confirm the USB connector is fully seated, test the slide or trigger by hand, and ensure no wires are pinched.
RS3 Reaper Slide Swap: Installation Process
The Reaper slide is a popular upgrade that improves ergonomics.
James Lemoine
Removing the Stock Slide
Locate the slide retention clips on the barrel sides and gently pry them outward. Clean the slide rails with a soft, dry cloth.
Installing the Reaper Slide
Align the Reaper slide with the barrel rails and slide fully forward. If it binds, check for debris or misaligned rails. Secure retention clips until they click.
Calibration and Testing After Installation
Now calibrate your mod so your light gun works accurately in games.
Running Calibration Software
Launch your calibration application and point your light gun at each on-screen target, pressing the trigger when prompted. Move smoothly between targets without interruption.
Testing Input Mapping and Screen Alignment
Play a 15-20 minute game session to test trigger input and aiming accuracy. If calibration drifts, recalibrate and check for loose internal components.
Common Mistakes to Avoid When Installing Mods
Top mistakes: forcing components, skipping the USB hub, ignoring calibration drift, and mixing components between mod kits.
Troubleshooting After Installation
Most installation problems have systematic fixes. Work through this diagnostic flow to isolate the issue.
Diagnostic Decision Tree: Device Not Recognized
Step 1: Verify USB hub power and connection
Check that the USB hub's power adapter is plugged in
Confirm the hub is connected to your PC or FPGA system
Try a different USB port on the hub
Step 2: Check the light gun's USB connection
Disconnect the light gun's USB cable from the hub
Inspect the USB connector on the light gun and hub port for bent pins or debris
Reconnect the cable firmly
Step 3: Check for driver issues (Windows)
Open Device Manager and look for "Unknown Device" or a device with a yellow warning icon
Right-click and select "Update driver"
Navigate to the manufacturer's driver folder and install
Step 4: Check for driver issues (Linux/FPGA systems)
For Mister FPGA: Verify the light gun core is installed in /media/fat/cores/
For Linux: Check lsusb output for your light gun's vendor and product ID
If the device appears but not in your game, download the latest firmware or core from the manufacturer
Step 5: Test the USB cable and hub
Disconnect the light gun and connect a different USB device to the same hub port
If the other device is recognized, the issue is with the light gun's USB connection
If not recognized, try a different port on the hub or test with a different hub
Calibration Drift, Inaccuracy, or Unstable Aiming
Step 1: Recalibrate immediately
Launch your calibration software and complete the full sequence without interruption
Move your light gun smoothly between targets
Test in the same game where you noticed drift
Step 2: Verify display settings match calibration
Check your monitor's current resolution and refresh rate
Confirm the refresh rate matches your calibration setting
Verify the monitor is not in power-saving mode
Step 3: Check for loose internal components
Power down and disconnect the light gun
Open the mod housing and inspect the sensor module for movement
Check that the USB ribbon cable is firmly seated
Step 4: Test calibration stability across multiple games
Play 15-20 minutes in one game, then switch to another
Return to the first game and check if aiming is still accurate
If aiming drifts only in specific games, the issue may be game-specific
Step 5: Check display refresh rate stability
Some games force a refresh rate change
If the refresh rate changes mid-game, recalibrate after the game exits
Disable any display refresh rate overrides in your graphics driver settings
Physical Fit Issues, Loose Components, or Rattling
Step 1: Inspect the housing for damage
Examine the mod housing for cracks, warping, or stress marks
Check the seams where the housing meets the base unit for gaps
If the housing is warped or cracked, contact the manufacturer for a replacement
Step 2: Clean the base unit and housing surfaces
Power down and disconnect the light gun
Inspect the mating surfaces for dust and debris
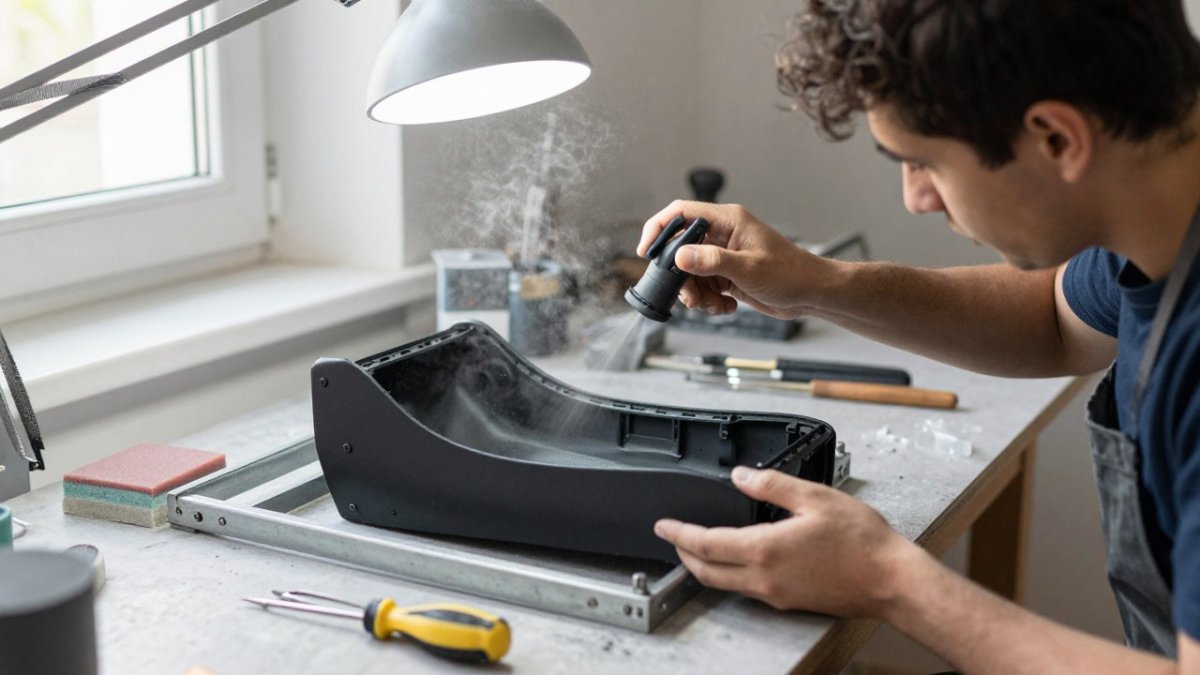
Clean with a soft brush or compressed air
Step 3: Verify all fasteners are tight
Remove the mod housing and inspect all fasteners for tightness
Tighten each fastener by hand in a cross pattern
Reassemble and test for rattling
Step 4: Check for internal wires caught between housing pieces
Open the housing and inspect the interior
Verify no wires are pinched, twisted, or caught between the housing and base unit
Ensure all wires are bundled with cable ties and routed away from moving parts
Step 5: Test the slide or trigger mechanism
Open the housing and manually test the slide or trigger by hand
The mechanism should move smoothly without grinding, clicking, or resistance
If you feel grinding or resistance, inspect the rails for debris or misalignment
Input Lag, Delayed Response, or Trigger Not Registering
Step 1: Verify USB hub power delivery
Disconnect all other USB devices from the hub
Connect only the light gun to the hub
Test trigger response and aiming in a game
If response improves, the hub was overloaded; use a hub with higher power output (2A or higher) or connect fewer devices
Step 2: Check for USB cable interference
Move the USB cable away from power cables, wireless devices, or other sources of electromagnetic interference
Use a shielded USB cable if available
Test trigger response again
If lag improves, the cable was picking up interference; use a better-shielded cable or route it differently
Step 3: Verify input mapping in your game
Open your game's control settings
Confirm the light gun is assigned to the correct input (e.g., "Light Gun" or "Analog Stick")
Test the trigger in the control settings menu (it should register immediately)
If trigger doesn't register in the menu, the issue is hardware or driver-related; proceed to Step 4
Step 4: Update or reinstall the light gun driver
Visit the manufacturer's website and download the latest driver
Uninstall the current driver (Windows: Device Manager → right-click device → Uninstall)
Restart your PC
Install the latest driver
Step 5: Test with a different USB port or hub
Disconnect the light gun from the current hub
Connect it to a different USB hub or directly to your PC (if the PC has a powered USB port)
Test trigger response and aiming
If lag disappears, the original hub or port is faulty; use a different hub
Frequently Asked Questions
Do you need to open the light gun to install a Retro Shooter mod?
Most Retro Shooter mods are external housings that fit over or attach to your light gun without requiring you to open the internal electronics. However, some advanced modifications like the RS3 Reaper slide swap involve removing the original slide component from the exterior. Always check your specific mod kit instructions first, if internal work is required, the documentation will be clear about it. When in doubt, contact the mod manufacturer before starting installation.
What tools do you need to install a Retro Shooter mod?
Most Retro Shooter mod kit installations require only basic hand tools: a small Phillips screwdriver, a plastic pry tool or soft flathead screwdriver to avoid scratching surfaces, and possibly tweezers for handling small components. Some kits are tool-free and use snap-fit or magnetic connections. Check your kit documentation for the exact tool list. Having a clean, well-lit workspace with a soft mat to protect your hardware is also essential during the installation process.
How do you test a Retro Shooter light gun after installing a mod?
After installation, power on your system and launch your calibration software. Run the full calibration routine to ensure the light gun is recognized and the crosshair aligns correctly with your display. Test input mapping in your game settings to confirm the trigger, reload, and any secondary controls respond properly. Load a shooting game and test all functions in actual gameplay, aim at different screen areas, test rapid fire, and verify the solenoid feedback if your gun has it. If anything feels off, recalibrate before assuming there's a problem.
Can you install a Retro Shooter mod without damaging the original parts?
Yes, if you follow the installation steps carefully and use the right tools. Most Retro Shooter mods are designed to be non-invasive, attaching externally without permanent modifications to your original hardware. The key is to work slowly, avoid forcing any components, and use soft tools to prevent scratches or dents. Keep all original parts in a safe container during installation. If you ever need to remove the mod, you'll have your stock hardware intact. Never rush the process, and stop immediately if something doesn't fit, forcing a mod can damage both the mod and your gun.
Shop
Comments