


How to Improve Arcade Light Gun Immersion (2026 Guide)
Table of Contents
Start With an Arcade Light Gun Calibration Guide
Dial In Tracking Accuracy and Deadzone
Fix Input Lag and Signal Interference
Tune Your Display for Arcade-Perfect Immersion
Recreate the CRT Look With Shaders
Match Field of View to Your Play Style
Add Haptic Feedback With Light Gun Recoil Kits
Understand the Two Recoil Mechanisms
DIY Recoil: What Actually Works
Tune Recoil Force, Not Just Presence
Layer Tactile Switches for a Second Feedback Channel
Upgrade Aesthetics With Custom Light Gun Mods
Optimize Ambient Lighting and Audio-Visual Feedback
Match Real Arcade Ergonomics at Home
Conclusion
Frequently Asked Questions
Last Updated: October 2, 2026
Start With an Arcade Light Gun Calibration Guide
A proper arcade light gun calibration guide is the foundation of how to improve arcade light gun immersion, because no amount of cosmetic upgrades will save a gun that shoots two inches left of your crosshair. We've watched plenty of Retro Shooter and Sinden owners spend money on shells before they've spent twenty minutes on setup, and the results always show.
Dial In Tracking Accuracy and Deadzone
Tracking accuracy comes down to three variables: sensor line of sight, deadzone tolerance, and screen border detection. Most setups fail at the first one.
Run through this sequence before touching any other setting:
Verify your sensor bar or camera has an unobstructed view of the full screen, including corners.
Increase the deadzone slightly if your shots jitter at rest, then reduce it once tracking settles.
Recalibrate after any change to screen size, room layout, or camera height.
Test with a game that shows a visible hit marker so you can judge drift immediately.
Pro Tip Calibrate in the exact lighting conditions you'll actually play in. A setup dialed in at midnight will often drift when afternoon sun hits the wall behind your screen.
Fix Input Lag and Signal Interference
Input lag kills the connection between your hand and the on-screen crosshair faster than any other factor. Wired connections beat wireless almost every time, and a direct USB path to your PC or cabinet avoids the polling delays that show up in fast-reaction shooters.
Tune Your Display for Arcade-Perfect Immersion
Display resolution and refresh rate decide how convincing your light gun feels once tracking is solid. Higher refresh rates reduce perceived latency between trigger pull and on-screen reaction, which matters more in rail shooters than most players expect. But the bigger immersion gap on a modern panel isn't refresh rate, it's the absence of CRT behavior, and that's where software-level post-processing does the heavy lifting most guides skip.
Start with the hardware layer:
Resolution: match your gun's native tracking resolution where possible to avoid scaling artifacts. For Sinden and Retro Shooter setups, running the emulator at the panel's native resolution and letting the shader handle scaling usually beats forcing an odd internal resolution.
Refresh rate: 120Hz or higher gives noticeably snappier trigger response than 60Hz. If your display supports VRR, enable it, frame pacing matters more than raw FPS in rail shooters with fast camera pans.
Response time: set your panel to its fastest overdrive mode that doesn't introduce visible overshoot. A slow panel smears the muzzle flash and undermines the recoil illusion.
Black frame insertion / backlight strobing: if your monitor offers it, this is the closest thing to CRT motion clarity on an LCD and dramatically sharpens fast panning shots.
Recreate the CRT Look With Shaders
A raw modern panel renders light gun games too cleanly. Arcade originals ran on CRTs with visible scanlines, phosphor glow, slight bloom around bright sprites, and a gentle barrel curvature. Emulators like MAME, RetroArch, and standalone Sinden-compatible frontends let you rebuild that look in software.
A practical shader stack, from bottom to top:
Scanline shader, a subtle horizontal mask. Too strong and it hurts target visibility; start around 25-40% opacity and tune against a bright game like House of the Dead 2.
Phosphor mask / aperture grille, mimics the RGB triad of a CRT. This is what makes white muzzle flashes look like glowing phosphor rather than flat pixels.
Bloom / glow pass, softens bright edges and sells the arcade cabinet look. Keep it low; heavy bloom washes out dark enemies.
Barrel distortion / curvature, optional, but a slight curve plus a vignette makes a flat panel read as a tube. Skip it if you're playing on a large TV from a distance.
Gamma and color temperature, CRTs ran warmer and slightly softer. Nudging gamma down and warmth up gets you closer than any single filter.
Pro Tip Tune shaders with the gun in your hand, not from the keyboard. Scanline strength that looks right at desk distance often disappears when you're standing back at cabinet range.
Match Field of View to Your Play Style
Field of view is the other display setting that quietly shapes immersion. Widen it slightly for cabinet-style standing play so the screen fills your peripheral vision the way an arcade monitor does. Narrow it for precision shooting where you want targets larger and crosshair movement more deliberate. There's no universal correct value, it depends on how far you stand from the panel and whether you're replicating a cabinet or a home-theater setup.
Add Haptic Feedback With Light Gun Recoil Kits
Light gun recoil kits are the single biggest immersion upgrade you can bolt onto a working setup. Recoil converts a silent trigger pull into a physical event, and that physical feedback loop is what separates a toy from a simulation. Most guides stop at "buy a recoil kit", but the mechanism you choose and how you tune it decides whether recoil helps your aim or fights it.
Understand the Two Recoil Mechanisms
Nearly all consumer recoil kits use one of two approaches:
Solenoid-based recoil, an electromagnetic coil drives a weighted slug forward on each trigger pull. Fast, crisp, and the closest thing to a real arcade gun's kick. The trade-off is power draw: solenoids pull high current in short bursts, so they need a beefier supply and can cause brownouts on shared USB hubs.
Motor-and-cam recoil, a small DC motor spins a weighted cam to produce a repeating shake. Cheaper and gentler on power, but the kick feels buzzy rather than sharp, and the response is slower than a solenoid.
DIY Recoil: What Actually Works
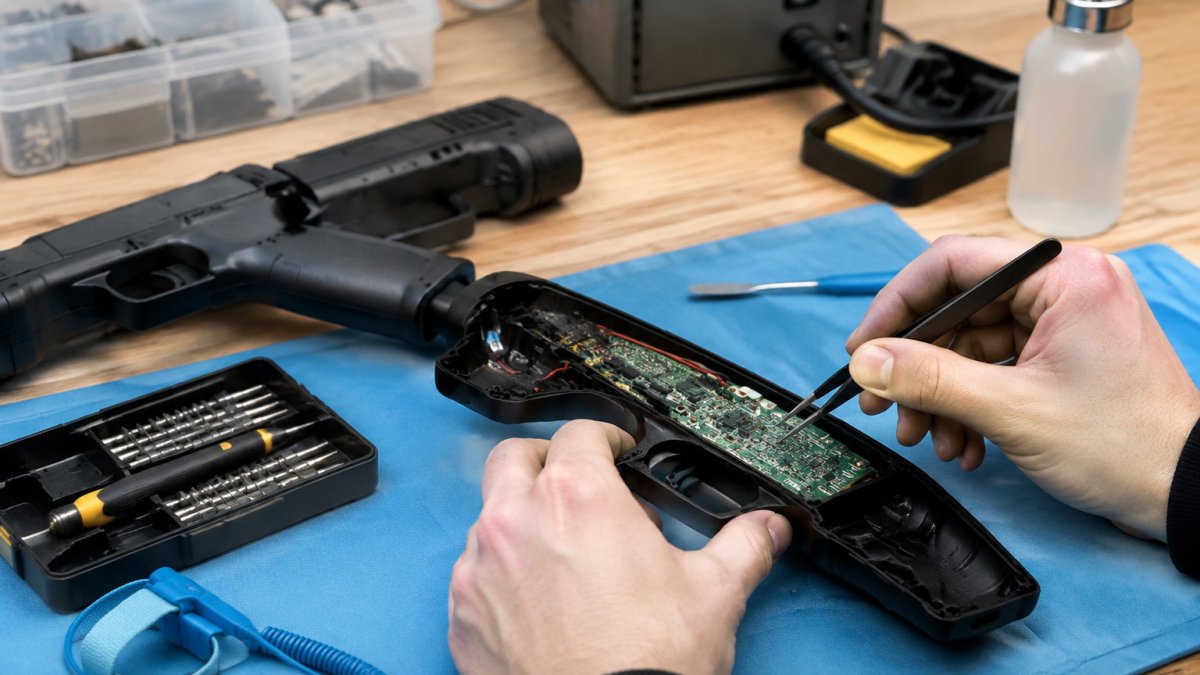
If you're building recoil into a non-arcade gun, the common pattern is a small solenoid (often pulled from a vending machine or pinball flipper) mounted inside the shell, wired through a MOSFET driver triggered by the gun's trigger signal. A few practical notes from people who've done it:
Mount the solenoid to the chassis, not the shell. Recoil that transfers into the plastic shell cracks printed parts over time; anchoring to the metal or reinforced frame spreads the force.
Add a rubber bumper at the end of the solenoid's travel. Without it, the slug slams metal-on-metal and the sound becomes a rattle rather than a thump.
Power it separately. A dedicated 12V supply with a capacitor across the solenoid terminals prevents the voltage sag that causes tracking dropouts mid-game.
Trigger it on the shot event, not the button press. If your gun's firmware exposes a shot-fired signal, use that; triggering on button-down fires recoil before the game registers the shot and breaks the illusion.
Tune Recoil Force, Not Just Presence
What most guides miss is that recoil tuning matters as much as recoil itself. A kit that kicks too hard throws off your aim between shots; one that's too soft might as well not be there. Look for adjustable recoil force, either a physical spring swap, a potentiometer on the driver board, or a firmware setting, and test it against your most-used game before locking in a setting.
Layer Tactile Switches for a Second Feedback Channel
Tactile switches on the trigger and slide give you a second feedback channel that fires before the recoil even engages. A crisp microswitch under the trigger, plus a slide that clicks on rack, tells your hand the gun is live before the shot lands. Combined with recoil, they create the audio-visual feedback loop that makes your brain accept the gun as real hardware rather than a plastic shell with a camera.
Watch Out Don't stack a heavy solenoid and a stiff trigger spring on the same gun without testing. The combined force can shift your aim between shots, which is the opposite of immersion, you'll be fighting the hardware instead of the game.
Upgrade Aesthetics With Custom Light Gun Mods
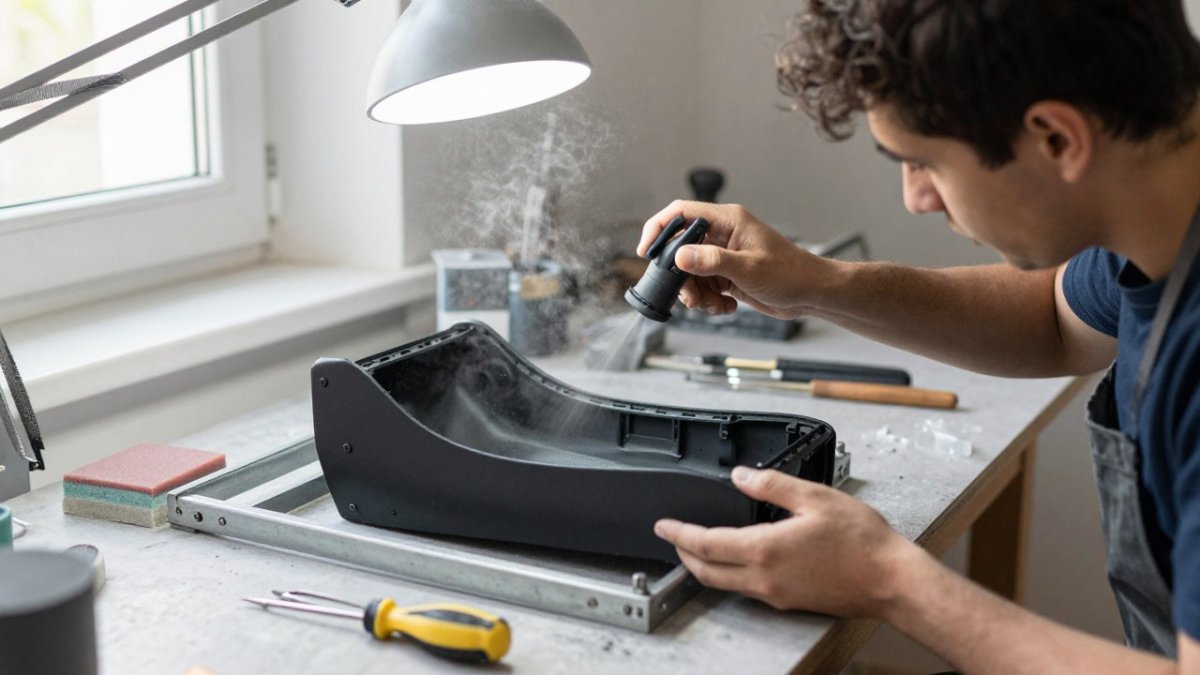
Custom light gun mods close the last gap between "working peripheral" and "arcade centerpiece." This is where Tcarterdesigns comes in: our mod kits transform standard Retro Shooter hardware into iconic replicas like the Aliens Pulse Rifle or a custom shotgun, using easy-to-install 3D-printed components that don't require rewiring your electronics.

Watch Out Don't force a shell onto a chassis it wasn't designed for. Over-tightening screws on a misaligned fit is the fastest way to crack a printed part and void any return claim.
Optimize Ambient Lighting and Audio-Visual Feedback
Ambient lighting is the immersion variable almost nobody talks about, and it's free to fix. Infrared-based tracking hates direct sunlight and loves controlled, indirect light. Dim the room, kill the glare on your screen, and your gun will track more consistently without touching a single setting.
Point light sources away from the sensor's line of sight.
Use blackout curtains if afternoon sun hits your play area.
Mount speakers near the gun's physical position for localized feedback.
Match Real Arcade Ergonomics at Home
Ergonomics decides whether you can actually play for an hour without your wrist aching. Arcade cabinets were designed around standing play at a specific height, and replicating that geometry at home makes a bigger difference than most players expect.
Key Takeaway Tracking, display, haptics, lighting, and ergonomics each contribute to light gun immersion, but they only compound when the foundation is solid. Fix calibration first, then layer upgrades in order of impact.
Conclusion
Building a light gun setup that genuinely feels like an arcade cabinet takes patience, and the last 10% of immersion is always the hardest to reach. If your hardware is dialed in but your gun still looks like a stock peripheral, that's the gap Tcarterdesigns exists to close. Our custom light gun mods transform standard Retro Shooter hardware into iconic replicas with easy-to-install kits, durable construction built for real play, and a return policy that protects you if the fit isn't right.
Frequently Asked Questions
How can I make my home light gun setup feel more authentic?
Start with calibration: run the arcade light gun calibration guide for your model, check the deadzone and tracking accuracy, then test input lag. Add a recoil kit for trigger response you can feel, swap the shell with custom light gun mods for period-correct looks, and dim ambient lighting so the sensor bar and infrared tracking stay clean. Together these steps close most of the gap between a home setup and a real cabinet.
Do recoil kits make light gun games more realistic?
Yes, because they add physical feedback that screen-only games cannot deliver. A light gun recoil kit kicks the slide or shell each time you pull the trigger, which reinforces timing and makes games like House of the Dead feel closer to the arcade original. Pair the kit with haptic feedback settings in your emulator so the recoil fires on the same frame as the on-screen muzzle flash.
How do custom light gun mods improve immersion without breaking my hardware?
Custom light gun mods change the shell, grip, or weight of the gun while leaving the electronics untouched. Kits designed for Retro Shooter and Sinden hardware swap the outer casing only, so calibration, tracking accuracy, and input mapping stay exactly as you set them. That means you get the look of an Aliens Pulse Rifle or a custom shotgun without risking the sensor or trigger assembly.
How do I calibrate my light gun for better accuracy and immersion?
Set your display to its native resolution, disable any motion smoothing or frame interpolation, and run the calibration squares in your light gun software. Aim at each square from your normal playing distance, not up close. Once tracking is locked in, adjust the deadzone so small movements register without jitter, then fine-tune the field of view in MAME or your emulator to match the arcade original.
Shop
Comments