


GUN4IR vs 3DMaKey Light Gun Mods Compared
Table of Contents
GUN4IR vs 3DMaKey: How the Two Light Gun Mods Differ
Light Gun Tracking Systems: Camera vs Infrared
Accuracy, Latency, and Responsiveness in Practice
GUN4IR Light Gun Setup: Hardware, Wiring, and Firmware
Light Gun Compatibility: Screens, Games, and Emulation
Retro Shooter Light Gun Mods: Custom Shells and Recoil
Cost, Skill, and Maintenance: What to Expect
Which Light Gun Mod Fits Your Arcade Setup?
Frequently Asked Questions
Last Updated: October 20, 2026
GUN4IR vs 3DMaKey: How the Two Light Gun Mods Differ
The GUN4IR and 3DMaKey are two different approaches to the same problem: turning a plastic toy gun into a precise, responsive controller for arcade shooters. GUN4IR is an open, community-built light gun mod platform that pairs custom firmware with a camera-based tracking board and a donor shell. 3DMaKey is a 3D-printed shell and mod ecosystem built around a specific hardware recipe. In short, one is a firmware-and-electronics project, the other is a body-and-build project.
At Tcarterdesigns, we spend our days working with Retro Shooter light gun mods, so we see where these two paths diverge in practice. Below, we break down the differences that actually matter: tracking, latency, setup, compatibility, and cost.
The single biggest mistake buyers make is comparing the two as if they were the same product. They aren't. GUN4IR is closer to a firmware project with a hardware shopping list. 3DMaKey is closer to a case-and-parts kit. Read on and you'll know which one fits your bench, your budget, and your patience.
Light Gun Tracking Systems: Camera vs Infrared
Light gun tracking systems fall into two broad families: camera-based systems that watch the screen and infrared systems that watch a pair of LED bars. GUN4IR uses a camera-based approach: a small camera in the gun reads the screen and works out where you're aiming. That means no sensor bars to mount, and it works across many displays.
Infrared systems, by contrast, rely on a pair of LED emitters placed around the screen. The gun's sensor triangulates its position from those emitters. This is the older, well-understood method, and it's what most classic console light guns used.
Here's what most guides miss: the tracking method determines your room, not just your gun. A camera-based setup cares about screen brightness and what's on screen. An infrared setup cares about where you can physically mount the bars and whether anything blocks the line of sight. If your cabinet has a tight bezel or an unusual screen, that difference decides everything.
Pro Tip Test your screen before you commit to any tracking system. Load a bright, high-contrast game and check whether the gun holds a steady aim at the edges of the screen. Corner drift is the first sign a tracking method will fight you in your specific room.
Accuracy, Latency, and Responsiveness in Practice
Accuracy and latency are the two numbers that decide whether a light gun feels right. Accuracy is how close your shot lands to where you aimed. Latency, or input lag, is the delay between the trigger pull and the game registering it. Responsiveness is the felt combination of both.
In practice, the tracking method sets the ceiling and the build quality sets the floor. A camera-based system can be very accurate on a clean, bright screen, but it can wobble if the screen is dim or the camera is poorly aligned. An infrared system is often rock-solid once calibrated, but it degrades if the emitters are misaligned or partially blocked.
Latency comes from several places: the camera or sensor sample rate, the firmware's processing, the USB connection, and the emulator itself. A well-built mod with clean wiring and current firmware feels near-instant. A sloppy build with a long cable run or an overloaded USB hub will feel laggy no matter which system you chose.
The takeaway: don't shop for a spec sheet. Shop for a build you can execute cleanly. A careful build of either system will beat a rushed build of the "better" one every time.
GUN4IR Light Gun Setup: Hardware, Wiring, and Firmware
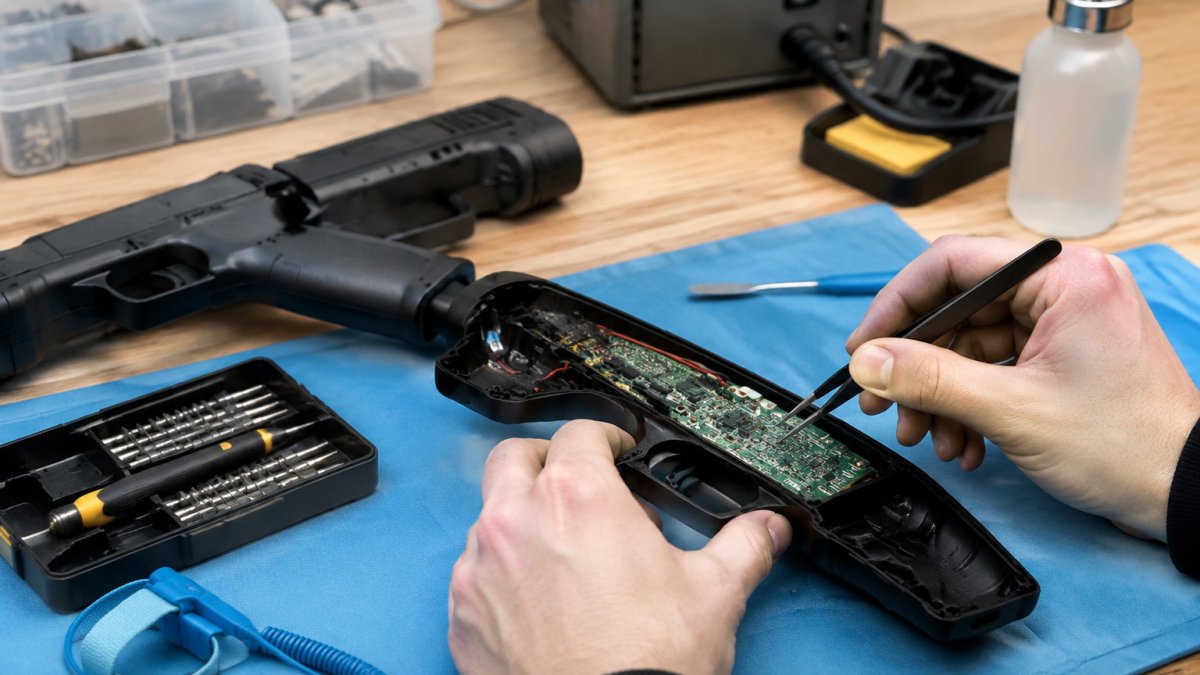
A GUN4IR light gun setup is a build project, not a plug-and-play purchase. You'll need a donor gun shell, the tracking camera board, a microcontroller, wiring, and the GUN4IR firmware. Expect to solder, flash firmware, and calibrate.
The GUN4IR workflow looks like this:
Pick a donor gun. Choose a shell with enough internal space for the camera board and wiring.
Mount the camera. Position it so it has a clear view of the screen without obstruction.
Wire the electronics. Connect the camera, trigger, and buttons to the microcontroller. This is the step that trips up beginners.
Flash the firmware. Load the GUN4IR firmware onto the board and set your configuration.
Calibrate. Run the calibration routine against your screen and dial in the aim.
If you've soldered before and you're comfortable reading a wiring diagram, this is a weekend project. If you haven't, budget time to learn. The firmware and configuration are well documented by the community, but the physical build is on you.
A 3DMaKey-style setup swaps some of that electronics work for assembly work. You'll still mount the tracking hardware and run wiring, but the shell and parts recipe reduce the guesswork around fit and layout. The trade-off is less freedom to improvise: the kit expects its own hardware recipe, and deviating from it can create fit problems the instructions don't cover.
Before you commit to either path, run a compatibility check. Most light gun mods present themselves to the PC as a standard mouse or gamepad, so they work with emulators that accept mouse input, which covers the major arcade and console emulators.
Watch Out The most common build failure is a cold solder joint on the camera connection. It works in testing, then drops out mid-game once the gun warms up. Reflow every joint on the camera harness before you close the shell.
Light Gun Compatibility: Screens, Games, and Emulation
Light gun compatibility depends on three things: your display, your emulator, and the game itself. Camera-based systems are generally more flexible across screen types, including modern flat panels, because they read the screen directly. Infrared systems need their emitter bars positioned correctly relative to the display, which can be awkward on very large or unusually shaped screens.
On the software side, most light gun mods present themselves to the PC as a standard mouse or gamepad. That means they work with emulators that accept mouse input, which covers the major arcade and console emulators. The game matters too: titles built for absolute aiming behave differently from those that expect relative movement.
A quick compatibility checklist before you buy:
Confirm your display type and brightness
Check that your emulator accepts mouse or gamepad input
Verify the game supports light gun aiming
Confirm you have a free USB port and stable power
Check the community compatibility notes for your exact game list
Retro Shooter Light Gun Mods: Custom Shells and Recoil

Retro Shooter light gun mods are where the build gets personal. Once the electronics work, the shell decides how the gun feels in your hand and how it looks on your shelf. This is the part of the hobby that turns a controller into a replica.
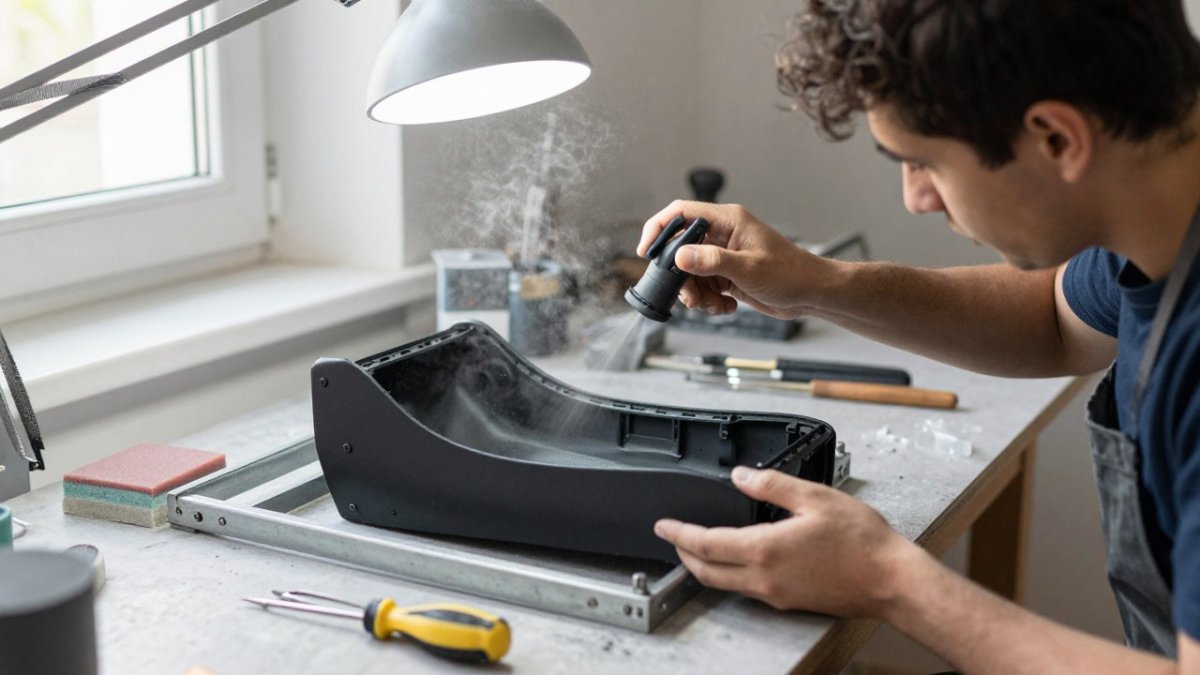
Custom shells range from simple cosmetic swaps to full body kits that change the silhouette entirely. Recoil is the other big upgrade: a recoil mechanism adds a kick on each trigger pull, which transforms the feel of arcade shooters.
This is exactly the space Tcarterdesigns works in. Our mod kits are built for Retro Shooter hardware and focus on the aesthetic and tactile side: transforming a standard gun into an iconic replica like a pulse rifle or a custom shotgun. The electronics stay yours to choose; the look and feel are what we obsess over.
Key Takeaway Electronics decide whether a light gun works. The shell decides whether you want to pick it up. Budget for both, and don't treat the shell as an afterthought.
Cost, Skill, and Maintenance: What to Expect
Cost and skill are where the two paths separate most clearly, and where most guides get vague. Instead of quoting a single number, break the build into line items and compare like-for-like. A GUN4IR build spreads cost across a donor shell, a camera tracking board, a microcontroller, wiring, and tools.
A practical way to compare is a line-item worksheet. Fill in each row for both paths before you buy anything:
Line item | GUN4IR path | 3DMaKey path |
Tracking hardware | Camera board + microcontroller | Per the kit's hardware recipe |
Donor shell | You source and modify | Printed shell included or specified |
Wiring and connectors | You source | Bundled or specified |
Tools | Soldering iron, multimeter, wire strippers | Assembly tools, light finishing |
Firmware and software | GUN4IR firmware, community config | Kit-specific setup |
Optional recoil | Added separately | Added separately or per kit |
Shipping and spares | Multiple orders | Fewer orders |
Pricing depends on the donor gun you choose, the parts you source, whether you already own tools, and whether you add recoil.
Skill is the other half of the equation.
Maintenance is real on both. Expect to re-check solder joints, update firmware, and re-calibrate after moving your setup. Recoil mechanisms need periodic inspection. None of this is hard, but it's ongoing, and it's the part buyers underestimate.
Troubleshooting follows the same split. On GUN4IR, the usual suspects are a cold joint on the camera harness, a firmware mismatch after an update, or calibration drift after the gun warms up. On a 3DMaKey-style build, the usual suspects are shell fit, fastener loosening, and sensor placement shifting inside the printed body.
Watch Out Don't buy a recoil kit before your base build is stable. Adding a moving part to an uncalibrated gun makes every tracking problem harder to diagnose.
Which Light Gun Mod Fits Your Arcade Setup?
The right light gun mod comes down to one question: do you want to build the electronics or assemble a known kit? If you enjoy soldering, flashing firmware, and tuning a system to your exact screen, the GUN4IR path gives you more control and a more open platform. If you'd rather follow a proven recipe and focus your effort on the shell and feel, a 3DMaKey-style kit is the smoother route.
Whichever you choose, plan the whole build before you buy a single part. Decide your tracking method, confirm your screen and emulator compatibility, and only then pick a shell. The shell is the part you'll live with every session, so it deserves as much thought as the firmware.
Frequently Asked Questions
What is the difference between GUN4IR and 3DMaKey light gun mods?
GUN4IR is an open-source project that turns a donor gun shell into a camera-tracking light gun, so you handle wiring, firmware, and calibration yourself. 3DMaKey focuses on 3D-printed shells and mod kits that pair with existing hardware, which suits builders who want the look and feel without designing the electronics from scratch. Neither is plug-and-play, but GUN4IR asks more of you during setup while 3DMaKey leans on the printed parts and fit.
Which light gun mod works best with a home arcade cabinet?
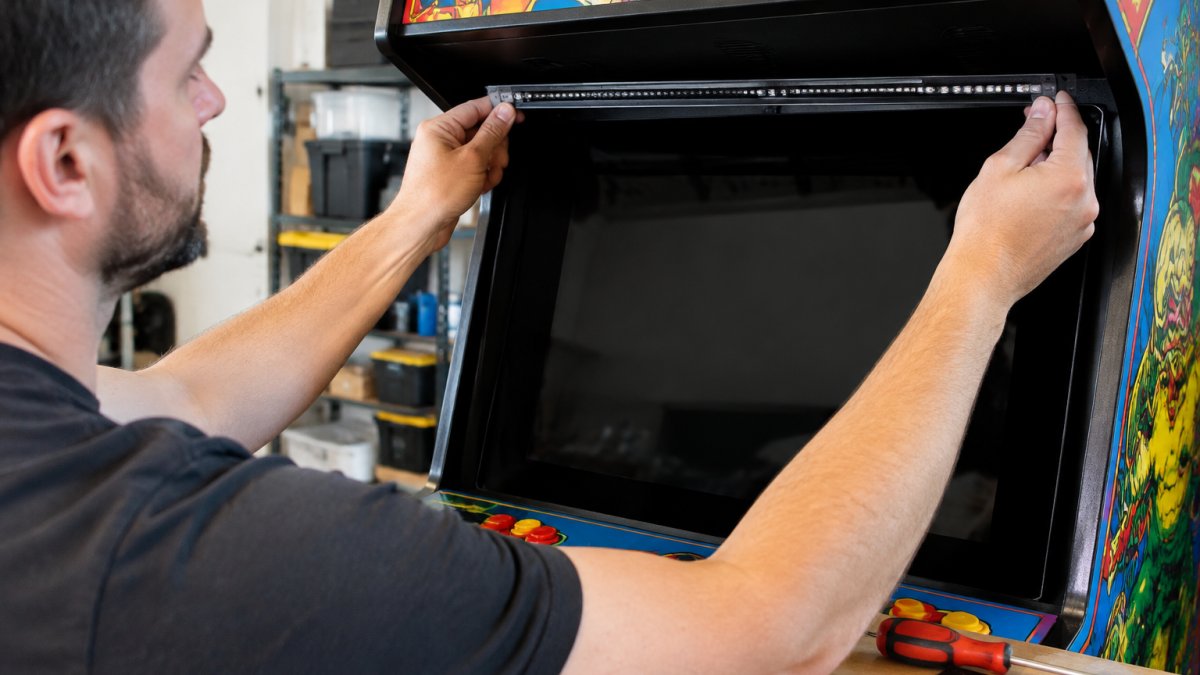
It depends on your screen and how much building you want to do. GUN4IR's camera tracking tends to suit cabinets with standard LCD or OLED displays because it does not need sensor bars around the screen. 3DMaKey-style mods work well when you already have a base gun and want a custom shell that fits your cabinet's theme. Check light gun compatibility for your display type and the games you plan to run before committing.
Are GUN4IR and 3DMaKey mods compatible with the same light guns?
Not always. GUN4IR kits are built around specific donor gun shells, and the internal space, trigger, and wiring layout vary between models. 3DMaKey shells are printed for particular base guns too, so a kit made for one model may not fit another. Before buying, confirm the exact donor gun model, then check whether the mod supports it. If you use a Retro Shooter light gun, look for mods explicitly made for that hardware.
How difficult is it to install a light gun mod?
GUN4IR installs usually involve soldering, wiring, flashing firmware, and calibrating the camera, so basic electronics experience helps. 3DMaKey shell swaps are mostly mechanical: opening the donor gun, moving the internals, and fitting the printed parts. Either way, work slowly and test the trigger and buttons before closing the shell. If you are new to modding, start with a kit that includes clear instructions and a shell you can afford to replace.
Building a light gun that feels as good as it shoots is the real challenge, and the electronics are only half of it. At Tcarterdesigns, we make custom light gun mods for Retro Shooter hardware, including shotgun and pulse rifle-style shells and easy-to-install kits that transform a standard gun into a replica worth displaying. Get started with Tcarterdesigns and give your arcade setup the look and feel it deserves.
Shop
Comments