


Arcade Cabinet Mods: A Beginner's How-To Guide
Last Updated: October 23, 2026
Quick Summary
Arcade cabinet mods upgrade a stock home cabinet with better controls, more games, sharper visuals, and hardware that matches the games you love. Start with one mod, such as a button and joystick kit, finish it completely, then move to the next. Most mods are reversible, so you can usually put the original parts back.
Photograph every connection before unplugging anything so you can reverse the work if needed.
Button and joystick kits are easy, take 30-60 minutes, and teach you your cabinet's layout.
Confirm your monitor input type before buying a game system kit or small-form PC.
Test each button one at a time as you connect it rather than wiring everything first.
Keep original parts in a labeled bag to return the cabinet to stock within an hour.
Table of Contents
Why Arcade Cabinet Mods Are Worth Your Time
What You'll Need Before You Start Modding
Arcade1Up Mod Kit: The Easiest Entry Point
Arcade Cabinet Control Panel Upgrade: Buttons, Joysticks, and Wiring
Arcade Cabinet Game System Upgrade: Adding a Bigger Library
Arcade Cabinet Light Gun Mod: Turning Hardware Into Replicas
Common Mistakes to Avoid and How to Fix Them
Conclusion
Frequently Asked Questions
Why Arcade Cabinet Mods Are Worth Your Time
Arcade cabinet mods turn a stock home cabinet into something that feels like the real thing: better controls, more games, sharper visuals, and hardware that matches the games you love. At Tcarterdesigns, we build custom light gun mods for Retro Shooter hardware, designed to elevate your gaming experience.
Below, we'll walk through the mods that actually matter and how to avoid the mistakes that stall most first projects. Most are reversible, so you can usually put the original parts back.
Key Takeaway Start with one mod, finish it completely, then move to the next. Half-finished upgrades are the number one reason beginner projects stall.
What You'll Need Before You Start Modding
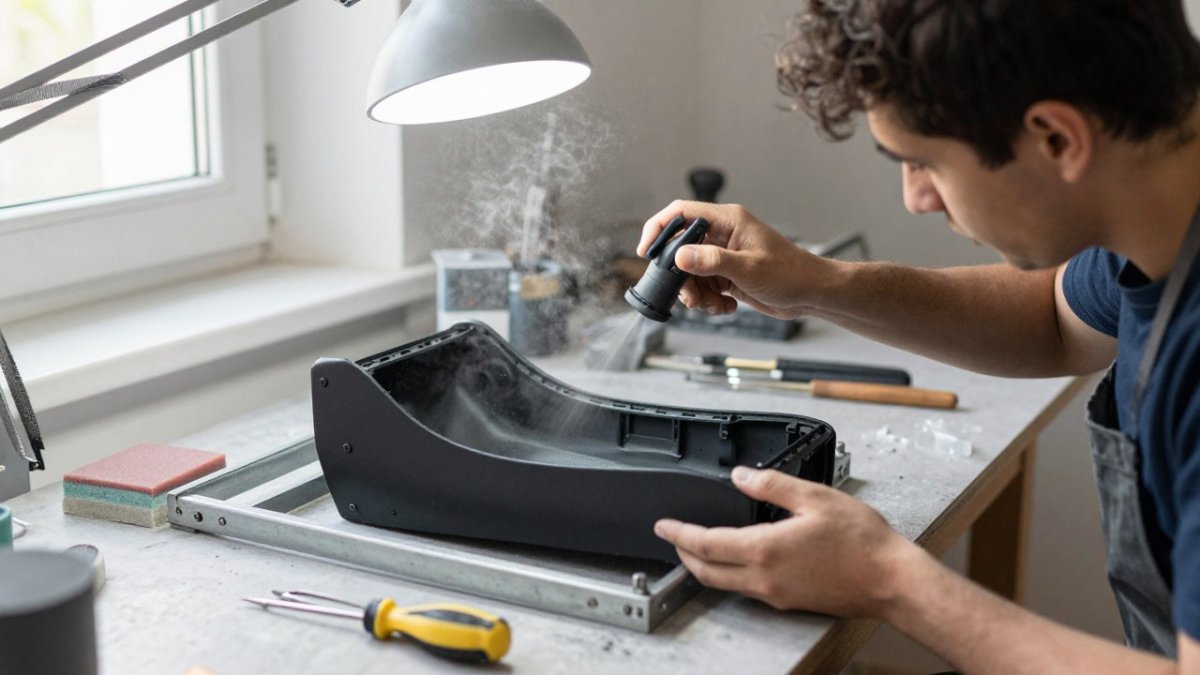
Before you touch a screwdriver, gather your tools and set up a clean workspace. A little prep saves hours of frustration later.
Basic toolkit:
Screwdriver set (Phillips and flathead, small sizes)
Plastic pry tools or a guitar pick for panels
Needle-nose pliers and wire cutters
Before you open anything:
Unplug the cabinet and let it sit for a few minutes
Check your cabinet's manual for the model number and layout
Photograph every connection so you can reverse the work if needed
The hardest part of most cabinet mods isn't the install, it's knowing which version you own. Manufacturers quietly revise boards and wiring between production runs, so match your model number to the parts list before you buy.
Watch Out Skipping the photo step is the most common beginner mistake. Without a reference shot of the original wiring, putting things back together after a failed mod becomes guesswork.
Arcade1Up Mod Kit: The Easiest Entry Point
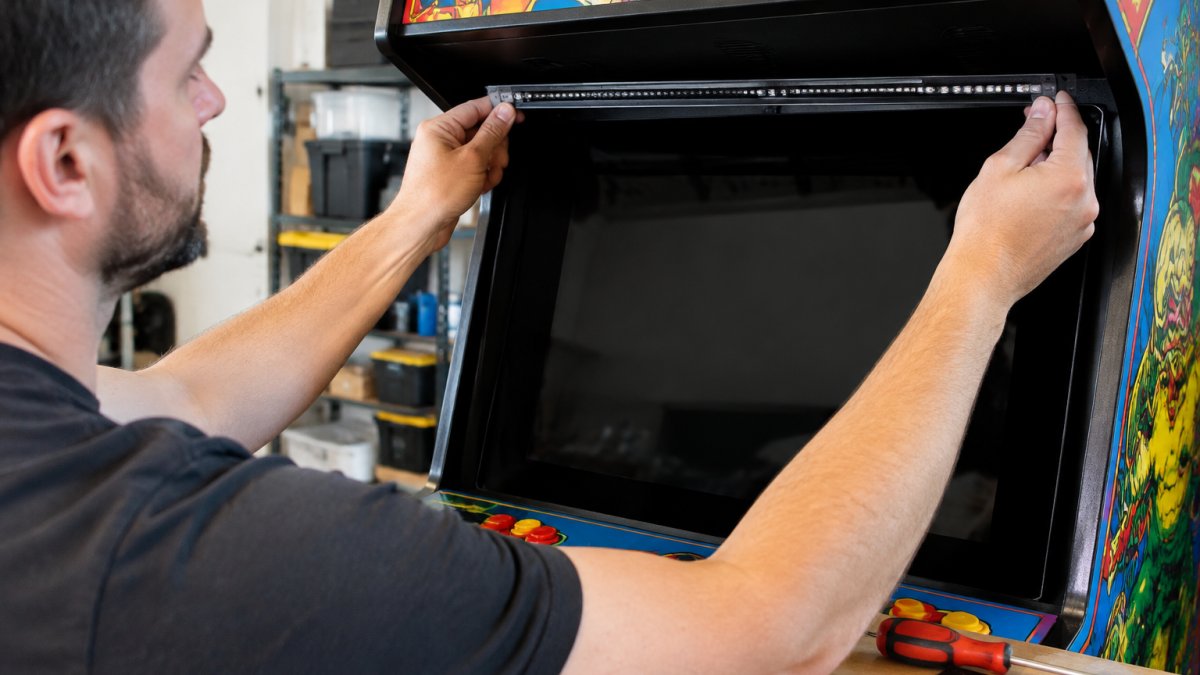
An Arcade1Up mod kit is a structured way to start. These kits bundle the parts for a specific upgrade, so you're not hunting down components or guessing at compatibility.
Most kits fall into a few categories:
Kit Type | What It Upgrades | Difficulty | Time Needed |
Button and joystick kit | Controls and feel | Easy | 30-60 minutes |
Light-up button kit | Visuals and lighting | Easy | 30-45 minutes |
Control panel overlay | Aesthetics and layout | Moderate | 1-2 hours |
Multi-game system kit | Game library | Moderate to hard | 2-4 hours |
Start with a controls or lighting kit. You'll learn how the cabinet comes apart, how the wiring connects, and how much room you have to work. That knowledge makes the bigger mods far less intimidating.
Arcade Cabinet Control Panel Upgrade: Buttons, Joysticks, and Wiring
A control panel upgrade is the mod you'll feel every time you play. Stock buttons often feel mushy and stock joysticks can be loose; swapping them for better parts changes the whole experience.

Here's the process, step by step:
Open the panel. Remove the screws holding the control panel and lift it carefully.
Photograph the wiring. Get a clear shot of every connector before you unplug anything.
Label the wires. A strip of masking tape and a pen works fine.
Remove the old buttons. Most push out from below with a twist of the retaining nut.
Install the new buttons. LED buttons need a power lead, so check the polarity before you connect.
Swap the joystick. Match the mounting plate to your panel's hole pattern.
Test before you close up. Plug in and check every button and direction.
Tidy the cables. Zip ties keep wires away from moving parts.
Pro Tip Test each button one at a time as you connect it, rather than wiring everything and testing at the end. Finding a single loose connector is quick. Finding it among twenty is not.
Arcade Cabinet Game System Upgrade: Adding a Bigger Library
A game system upgrade expands what your cabinet can play, but the right path depends on your cabinet model, your monitor's inputs, and how comfortable you are with wiring. Here are the compatibility checks and install sequence so you can pick a route and finish it.
Your three main options, compared honestly:
Multi-game kit (drop-in board): A replacement board that adds a fixed library of classic titles. Easiest option. You are limited to what the kit includes, and kit libraries vary widely in quality and game count. Best for beginners who want a known-working set.
Console conversion: Running a modern console through the cabinet. Great for family gaming and modern titles, but you must solve two problems: getting video from the console to the cabinet monitor, and getting the cabinet's controls to register as a console controller.
Small-form PC build: The most flexible option and the most work. You control the library and the front end, but you are now maintaining a computer inside a cabinet, including updates, storage, and cooling.
Compatibility checks before you buy anything:
Monitor input type. Confirm whether your cabinet monitor accepts HDMI, VGA, DVI, or composite. Many stock cabinets use a proprietary or LVDS connection, which means a multi-game kit or PC will need a compatible adapter or a monitor replacement. Check the monitor model number on the back panel.
Control board connection. Identify whether your controls use a USB encoder, a proprietary ribbon cable, or direct wiring to the original board. A console conversion usually needs a USB encoder or a Brook-style adapter board; a multi-game kit usually ships with its own encoder.
Power supply. Confirm the voltage and connector type your cabinet provides. Multi-game kits typically expect 12V or 5V depending on the board; a small-form PC needs its own power feed, so plan where it will plug in.
Physical space. Measure the interior cavity. A small-form PC needs roughly the footprint of a shoebox plus airflow clearance; a console needs less but still needs ventilation.
Step-by-step install sequence (multi-game kit example):
Unplug the cabinet and photograph the original board's connections.
Remove the original board and label each cable.
Mount the new board in the same location or with the supplied standoffs.
Connect the video cable to the monitor, matching the input type you confirmed.
Connect the control harness to the new board's encoder.
Connect power last, then test the display and every control before closing the cabinet.
Tidy cables with zip ties and confirm nothing touches a moving part or heat sink.
Pro Tip Test the new board on a bench or table before mounting it inside the cabinet. If the display or controls do not work outside the cabinet, they will not work inside it either, and bench testing is far easier to troubleshoot.
Reversibility: Keep the original board, its cables, and your photos. Most multi-game kits can be removed and the original board reinstalled in under an hour if you labeled everything, useful if you sell the cabinet or return it to stock.
Arcade Cabinet Light Gun Mod: Turning Hardware Into Replicas
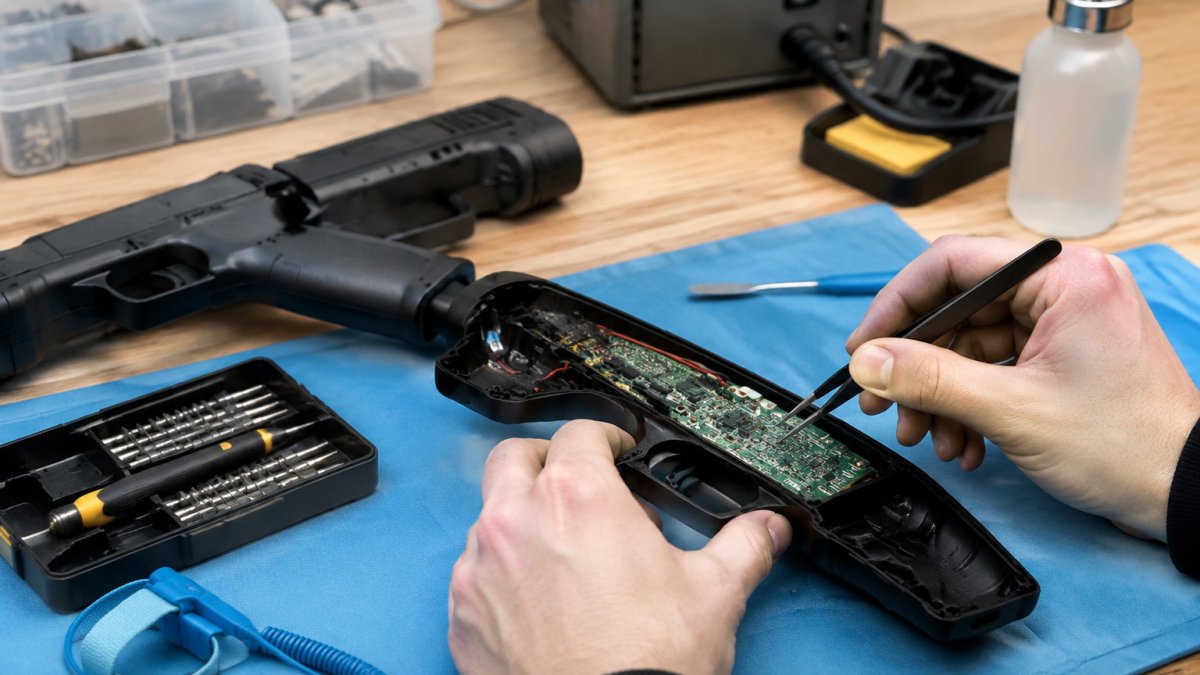
An arcade cabinet light gun mod changes how it feels to play shooting games. Instead of a plain plastic gun, you're holding something that looks and handles like the weapon from the game.
This is where our work at Tcarterdesigns comes in. We make custom light gun mods for Retro Shooter hardware that turn a standard gun into an iconic replica, like an Aliens Pulse Rifle or a custom shotgun.
What to check before you buy any light gun mod:
Fit: Does the kit list your exact gun model?
Electronics: Does the install leave the internal boards untouched?
Durability: Is it built for regular play, not just display?
If you already own a Sinden light gun, ask the seller directly whether their kit fits your model.
Best For Players who want their light gun to match the on-screen weapon without soldering or rewiring anything inside the gun.
Common Mistakes to Avoid and How to Fix Them
Most beginner mods fail for the same handful of reasons, and most trace back to skipping a check rather than a defective part.
Safety and electrical precautions (do these every time):
Unplug before opening. Never work inside a cabinet that is connected to power, even if it is switched off. Capacitors on power supplies can hold a charge; let the cabinet sit for a few minutes after unplugging.
Check grounding. If you add a new board or power supply, confirm the ground connection is intact. A missing ground is a shock risk and can cause intermittent control failures.
Do not exceed the original power supply's rating. Adding LEDs, a new board, and a light gun receiver can push a stock supply past its limit. If the cabinet resets or flickers under load, the supply is the first suspect.
Warranty implications: Mods can affect your cabinet's warranty.
Troubleshooting table:
Problem | Likely Cause | Fix |
Buttons do not register | Loose spade connector or broken ground chain | Reseat connectors, check the ground chain end to end |
LED buttons do not light | Power lead not connected or reversed polarity | Check the lead and flip the connector |
Joystick feels stiff | Mounting plate screwed down too tight | Loosen the screws slightly |
Game kit will not display | Wrong monitor input or incompatible adapter | Match the input type to your monitor and confirm the adapter |
Cabinet resets under load | Power supply overloaded | Disconnect added LEDs or boards and retest |
Light gun mod will not seat | Wrong model variant | Confirm the exact gun model with the seller |
Reversibility and rollback: The best habit for any mod is preserving the original state. Photograph every connection, label every cable, and keep the original parts in a labeled bag.
A few habits that prevent most failures:
Test in stages. Connect one part, test it, then move on.
Keep your photos. They are your map back to the original setup.
Do not force anything. If a part will not seat, the fit is wrong, not tight.
Conclusion
The gap between a stock cabinet and one that feels genuinely yours comes down to a few well-chosen mods, done carefully and tested as you go.
If you want your light gun to match the game, Tcarterdesigns builds easy-to-install replica kits for Retro Shooter hardware, with custom designs like the Aliens Pulse Rifle and shotgun styles. Our mods are made for regular play and designed to leave your electronics untouched.
Frequently Asked Questions
Are arcade cabinet mods beginner-friendly?
Most mild mods are beginner-friendly. Swapping buttons, adding LED lighting, or installing a light gun shell kit usually needs only basic tools like a screwdriver and a bit of patience. Control panel and game system upgrades take more care because you are working with wiring and boards. Start with one simple mod, read the instructions fully, and take photos as you disassemble so you can reverse anything that goes wrong.
How do you mod an Arcade1Up cabinet?
An Arcade1Up mod kit typically replaces the stock control deck or adds a new game board. Unplug the cabinet, remove the back panel, and disconnect the existing wiring harness. Fit the new panel or board, reconnect the harnesses, and test each button before closing up. Keep the original parts in a bag so you can revert later. Difficulty is moderate, and most kits include the cables you need.
Can you customize a light gun for an arcade cabinet?
Yes. An arcade cabinet light gun mod swaps the outer shell of a compatible gun, such as a Retro Shooter or Sinden unit, for a replica design like a pulse rifle or shotgun. The electronics stay the same, so you keep the tracking and buttons you already rely on. Installation is usually a case of unscrewing the original shell and fitting the new one. Check fitment for your exact model before ordering.
What do you need to mod an arcade cabinet?
You need a screwdriver set, a plastic pry tool, and a clean workspace. For wiring work, add a multimeter and zip ties for cable management. For a control panel upgrade, have your new buttons, joystick, and harness ready before you start. Photograph each connection as you go. If you are adding a light gun mod, keep the original shell and screws in a labeled bag so the swap stays reversible.
Shop
Add tcarterdesigns.com as a preferred source on Google →
Comments